Setup - Credit Request Processing
Last Modified on 02/26/2025 12:21 pm PST
The following setup must be complete to process a credit request on an invoice.

Permissions Required
Review the following permissions required specific to credit request processing and it's setup.
| Permission ID | Permission Name | Description |
41
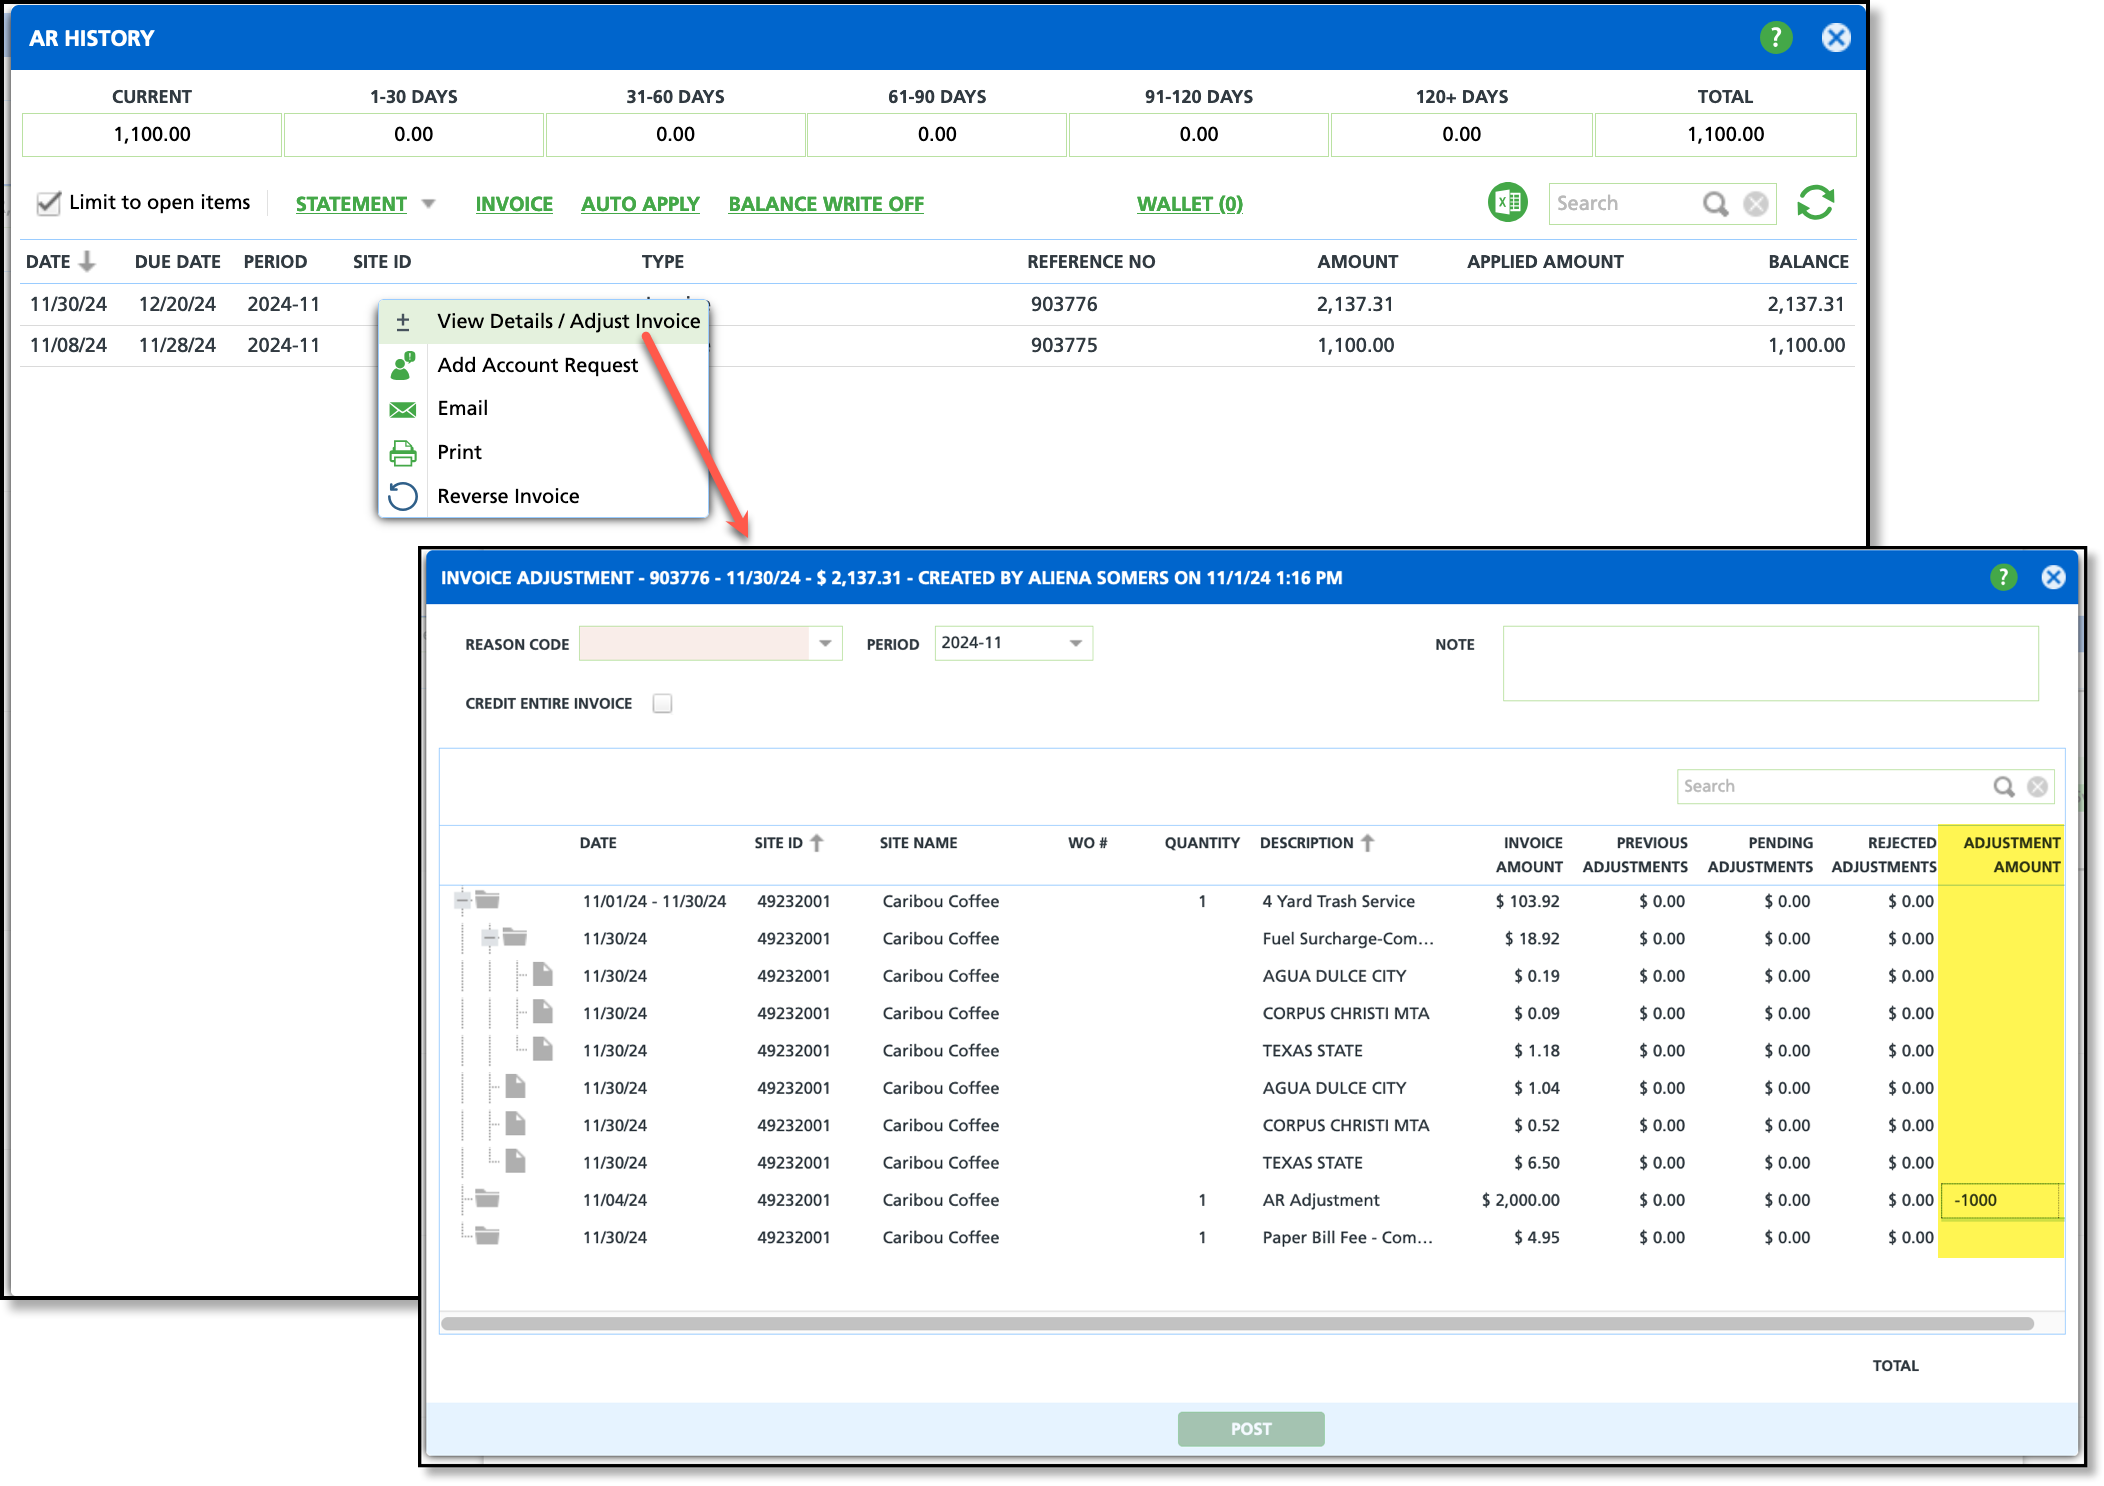
| View AR History | Necessary to view the Invoice Adjustment screen.
|
120
| Setup \ System and Security
| Necessary for Role Setup, Division Setup and Reason Code Setup screens.
|
332
| Invoice Adjustments - Pending Approval and History | Grants users permission to approve or deny pending invoice adjustments in the Invoice Adjustment - Pending Approval and History tool. Only user's who's job responsibilities include approving/denying invoice adjustments should have this permission. Permission 332 is not required to create an adjustment request. |
345
| Apply Credit to Invoice | Grants users permission to adjust an an account's invoice.
|
Role Setup
Pathway: Setup > System > Role
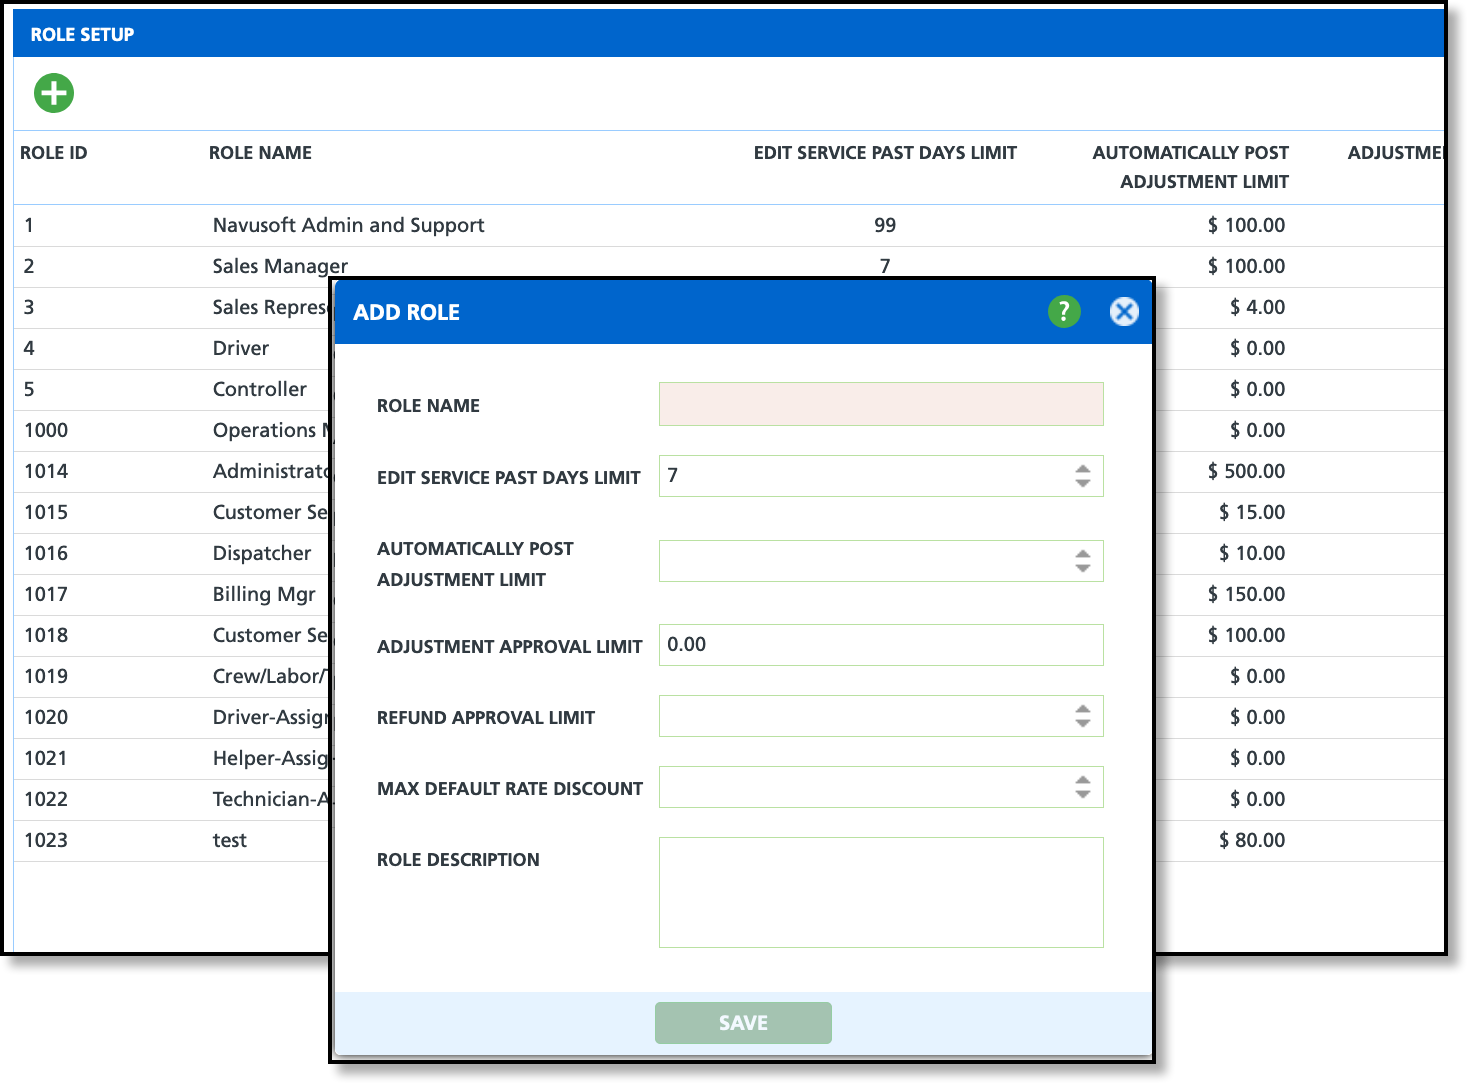
In Role Setup, review each role that permits invoice adjustments or participates in the approval process for adjusted invoices. Additional details about Role Setup can be reviewed here: Role Setup

In Add/Update Role, the following settings are available for invoice adjustments. However, depending on your setup, both settings may not apply to the same role.
- Automatically Post Adjustment Limit - Sets the maximum amount a user can credit an invoice by without needing approval. If this field is empty, users will be able to credit and post any amount.
- This setting only applies to the Invoice Adjustment screen in AR History.
- Adjustment Approval Limit- Sets the maximum amount a user with Permission 332 can approve for invoice adjustments on the Invoice Adjustment - Pending Approval and History screen.
- This setting only applies to the Invoice Adjustment - Pending Approval and History screen in the Accounting module.
Reason Code Set Up
Pathway: Setup > System > Reason Code
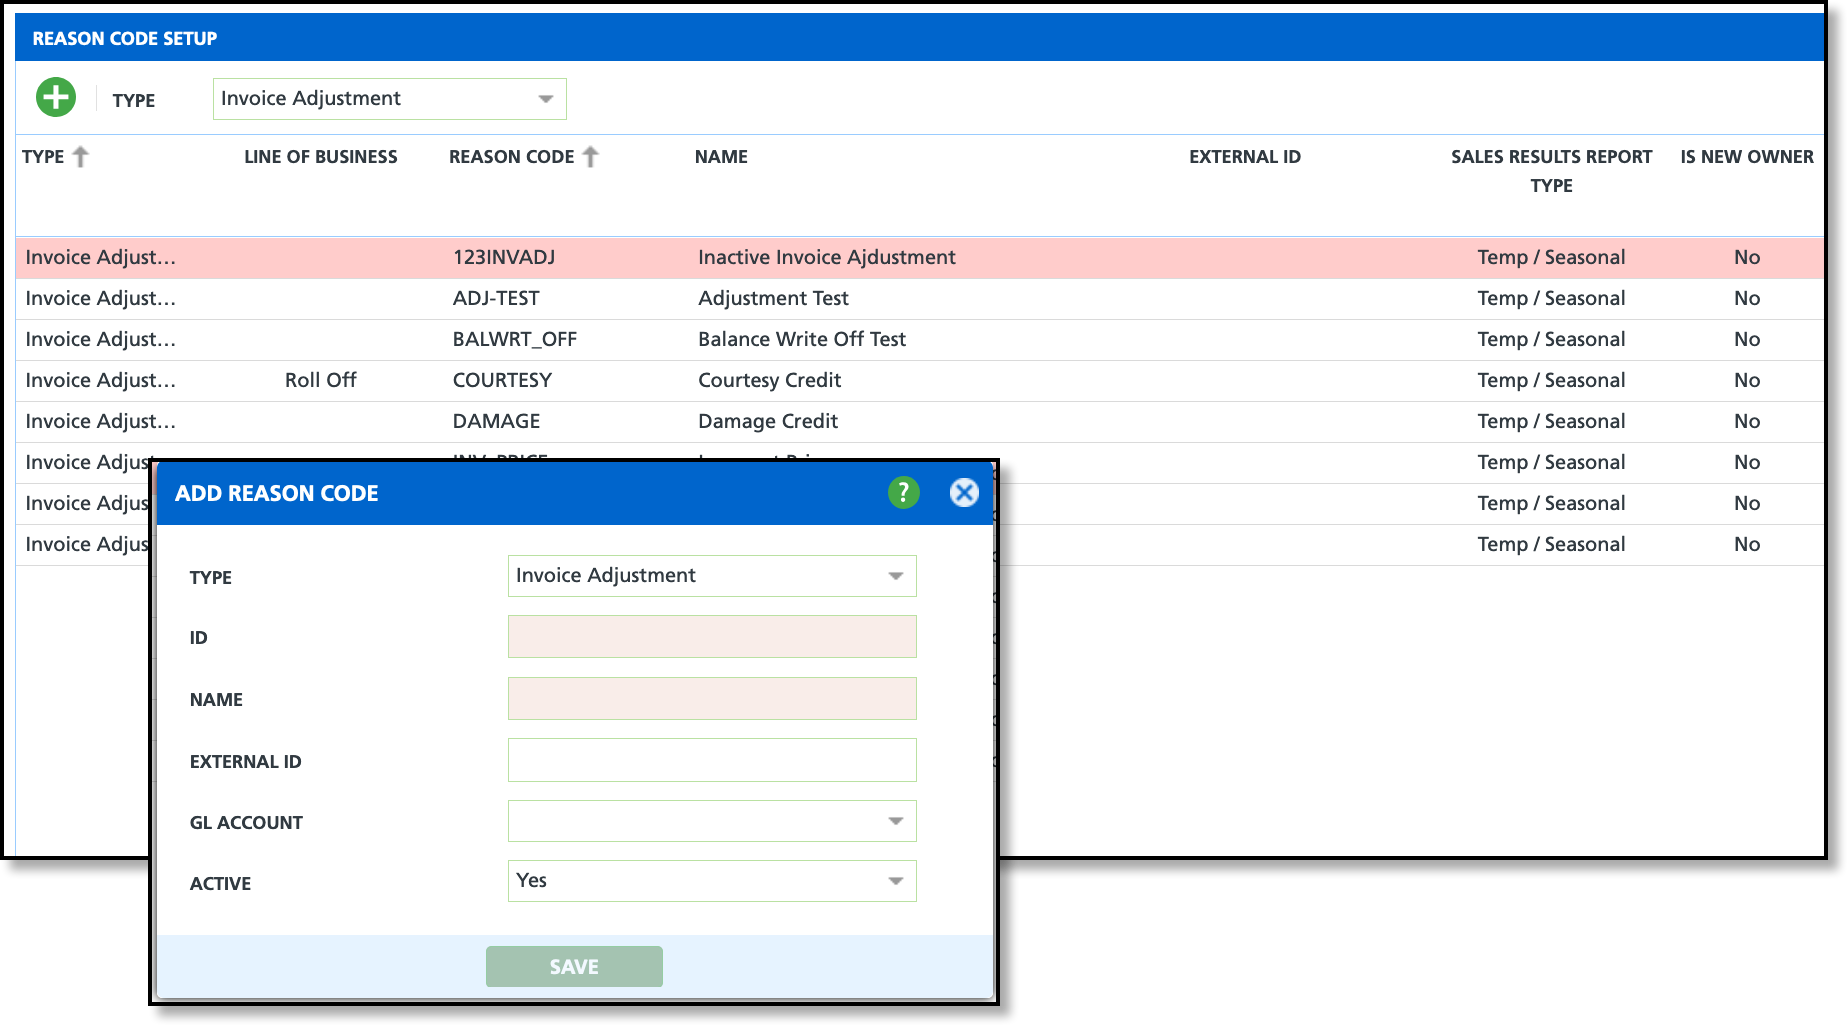
In Reason Code Setup, create an 'Invoice Adjustment' reason code for each type of adjustment a user may qualify an adjustment under for an account. Additional details on reason codes can be reviewed here: Reason Code Setup

- Navigate to Setup > System > Reason Code.
- Click + in the top left corner of the Reason Code Setup screen.
- This will open the Add Reason Code editor.
- Select Invoice Adjustment from the Type drop down field.
- Enter an ID. This displays under the Reason Code column in the Reason Code Setup screen.
- Enter a Name that will display for selection when the user enters an adjustment.
- Select a GL Account (if applicable) to record invoice adjustments.
- Click Save when finished.
Related Articles
Adjustment History and Pending Approval
View Details / Adjust Invoice


