Route and Service Notifications
Last Modified on 06/25/2026 7:20 am PDT
Pathway: Operations > Dispatch
Alert customers to route changes efficiently using the Dispatch Route Notification and Service Notification tools. These tools allow you to send email and text notifications to contacts associated with specific locations on one or multiple routes at the same time. This feature uses Notification Templates created in Setup > System > Notification Template, ensuring consistent and efficient communication.
Permissions
The following permissions are required to send a service notification:
| Permission ID | Permission Name |
| 88 | Dispatch |
Setup Requirements
The following setup is critical to ensure communications are delivered in an efficient and consistent manner:
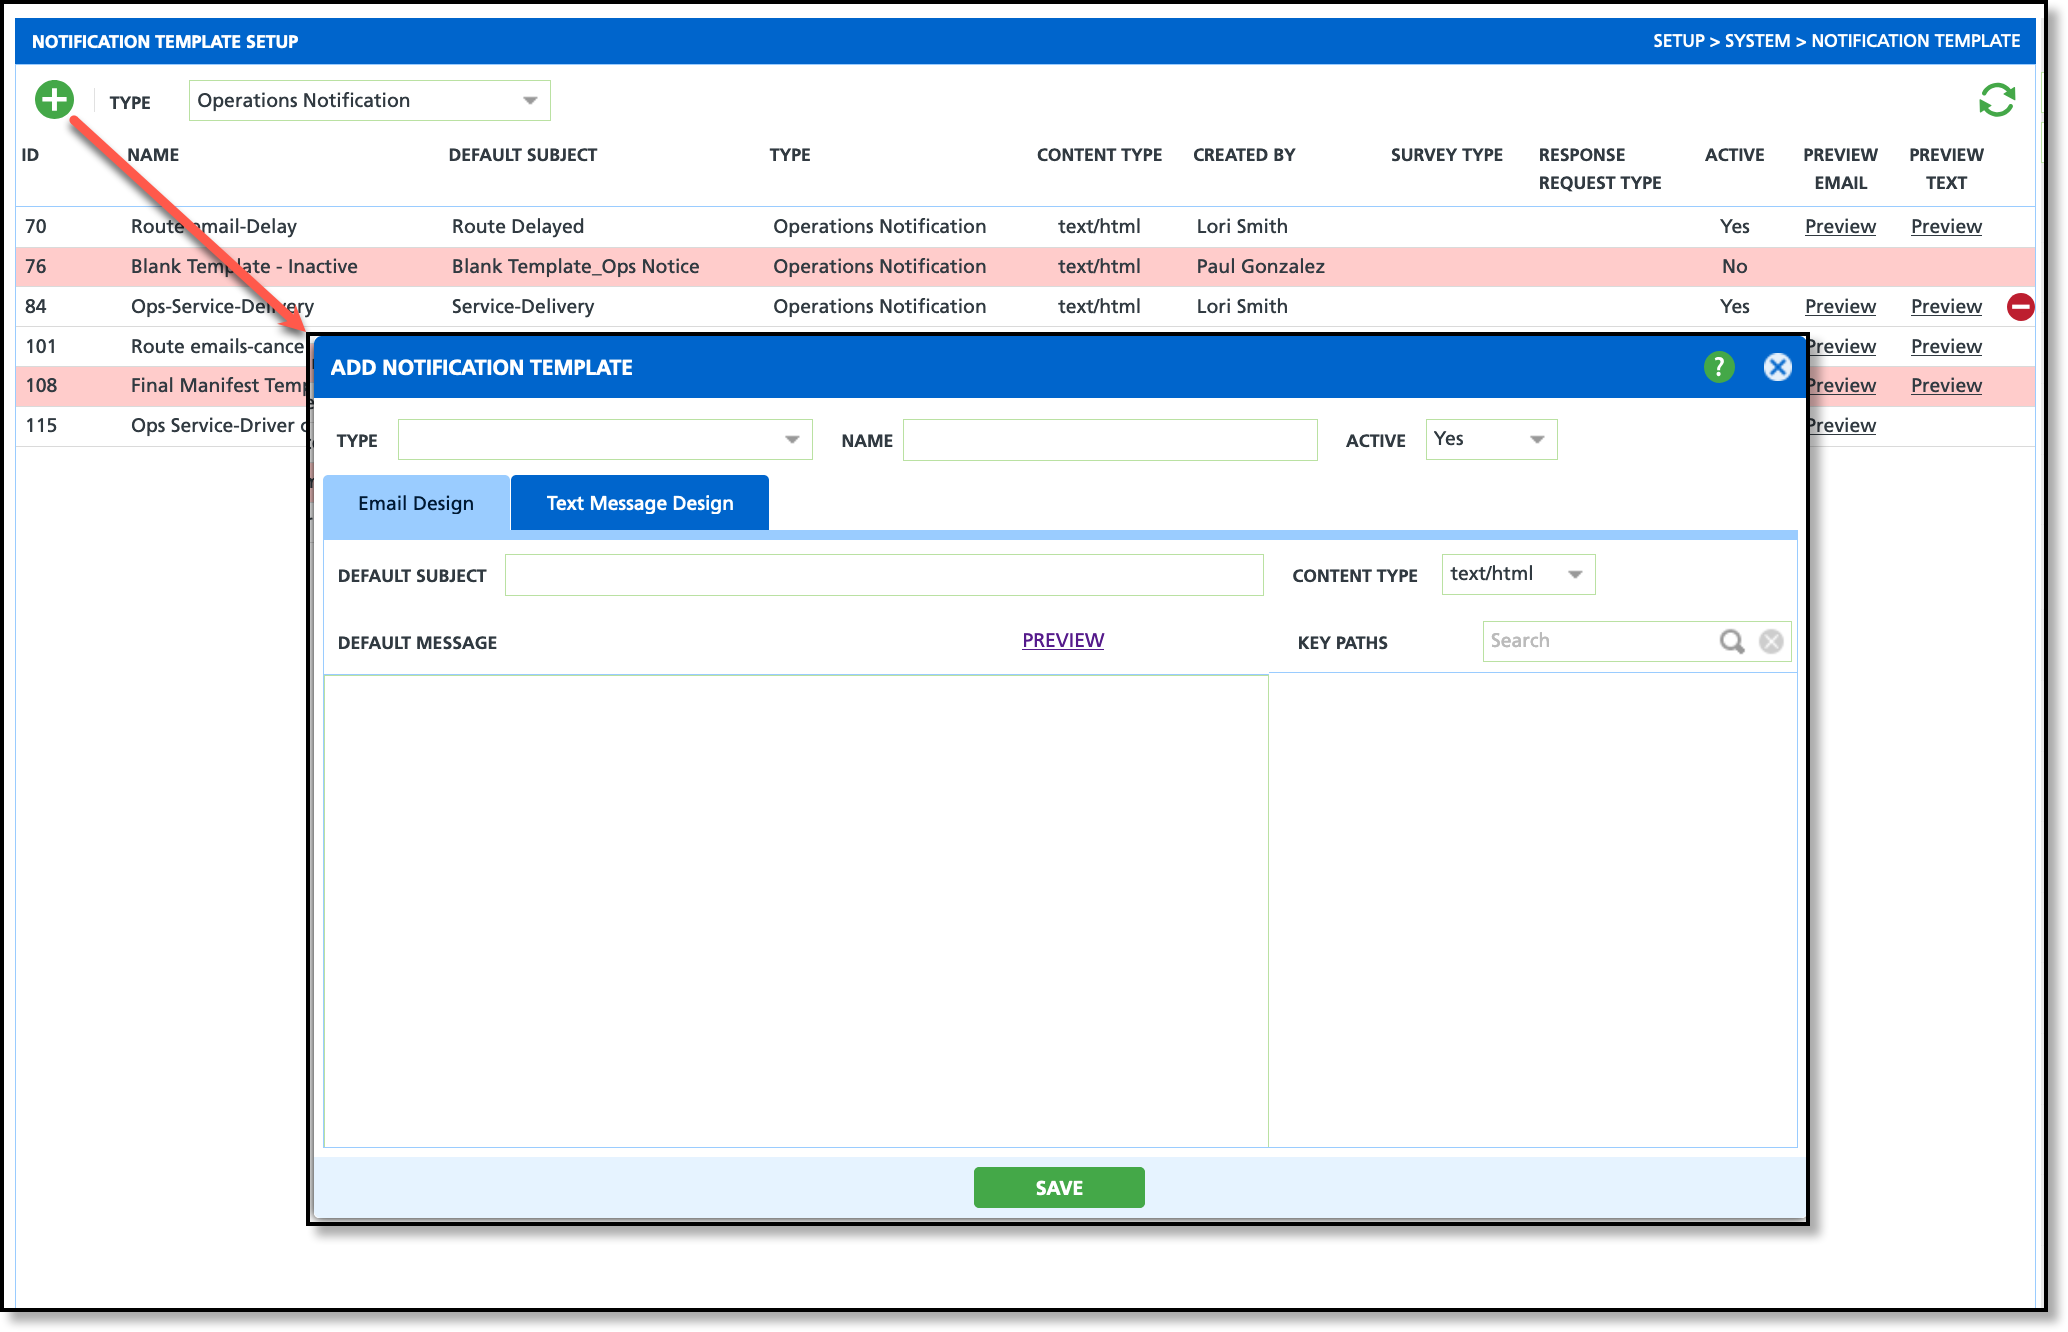
Create Notification Templates
Pathway: Setup > System > Notification Templates
The Notification Template tool allows for the creation of custom email/text notifications within the Navusoft application. Pre-built templates are available for route and service notifications, enabling quick communication of urgent messages, such as delays. Additional information on notification templates can be found here: Notification Templates
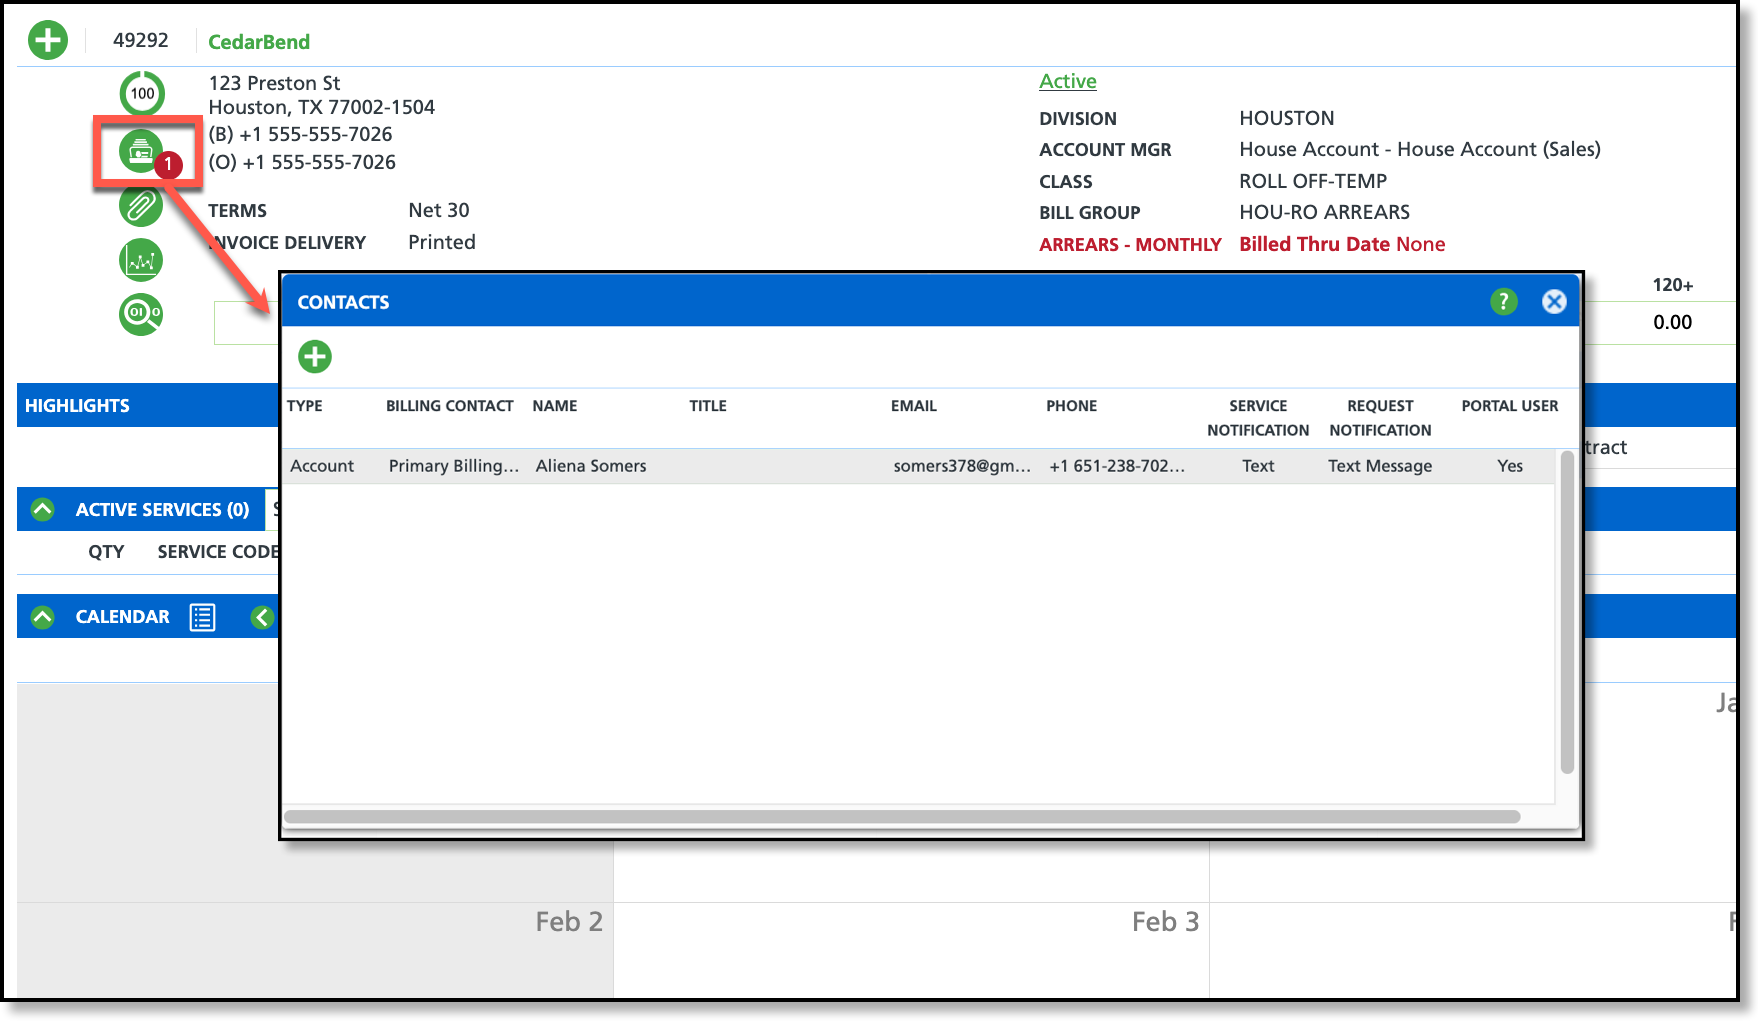
Account Contact Configuration
Pathway: Customer Service Screen > Add/Edit Contacts
Service notifications are sent to the account/site contact if one exists. More information about adding and managing contacts can be found here: Add and Edit Contacts
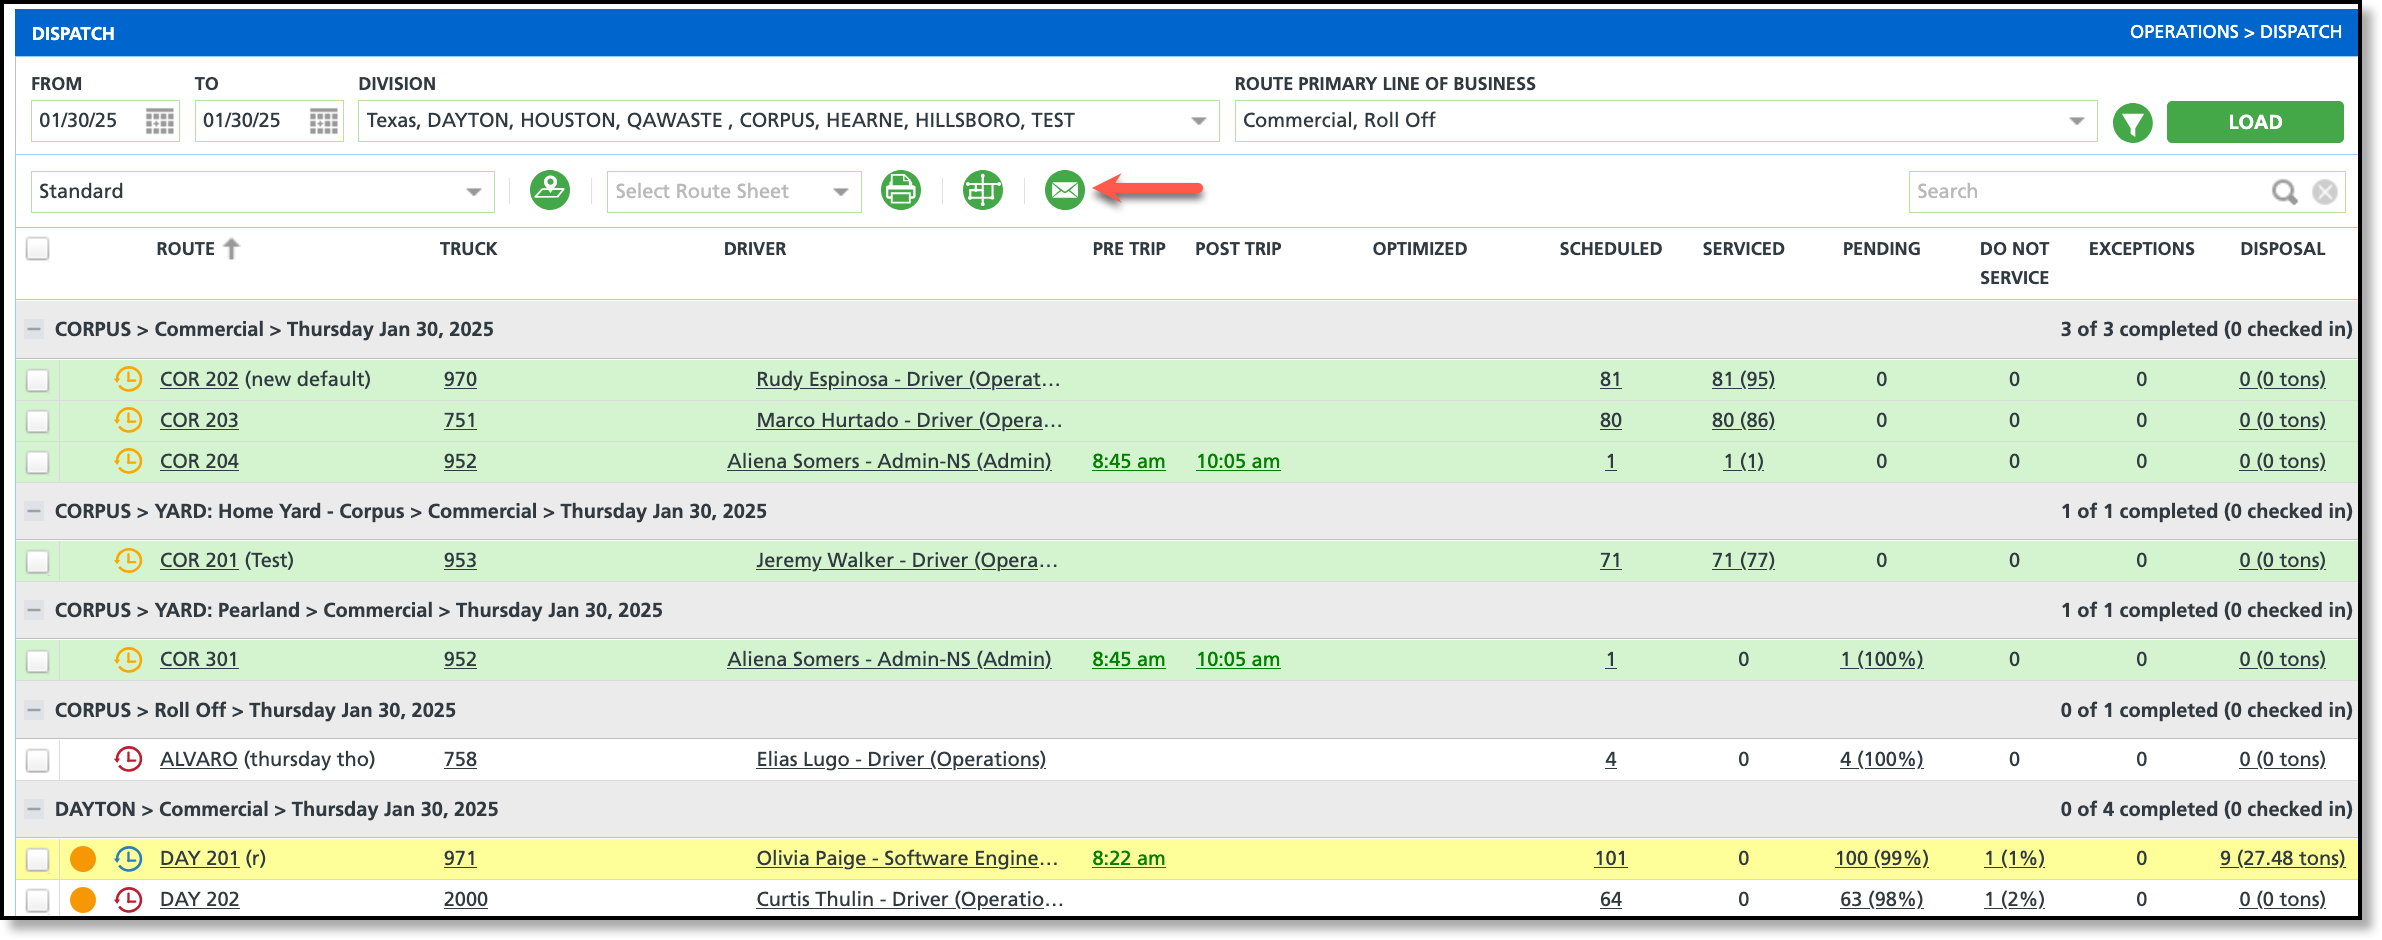
Route Notifications - Dispatch Screen
Use this notification option to mass send email and text notifications (route changes, route delays, etc.) to all locations on a route. Notifications will be delivered based on the contact's 'Service Notification Method' preference.

Send a Route Notification:
- Select the routes you would like included in the notification. If this applies to all routes, select the 'Select All' box that displays in the header row.
- Click the Notification icon displayed on the Dispatch screen, or right-click on a selected route and choose "Send Route Notification." This opens the Route Notification popup window.
- Select a template from the Notification Template drop down.
- Review the Subject and Body of the message. Fields will auto-populate with the selected template and can be edited before the notification is sent.
- Click 'Send Notification' when the message is ready to be sent.
Service Notifications - Services List Screen
Use this notification option to send notifications to only select locations on a route. Notifications will be delivered based on the contact's 'Service Notification Method' preference.

Send a Service Notification:
- From the Dispatch screen, select the value from under the route's Scheduled or Pending columns. This will open the Services List screen.
- Scheduled column: Displays all scheduled stops on the route (regardless of their current status).
- Pending column: Displays all pending stops that have not been serviced on the route.
- Select the stops you would like included in the notification. If this applies to all stops, check the 'Select All' box that displays in the header row.
- Click the Notification icon displayed on the Services List screen, or right-click on a selected stop and choose "Send Service Notification." This opens the Service Notification popup window.
- Select a template from the Notification Template drop down.
- Review the Subject and Body of the message. Fields will auto-populate with the selected template and can be edited before the notification is sent.
- Click 'Send Notification' when the message is ready to be sent.


