Pending (Tab) - Review and Assign Pending Stops to a Route
Last Modified on 11/06/2025 9:29 am PST
Pathway: Operations > Route Management > Pending (tab)
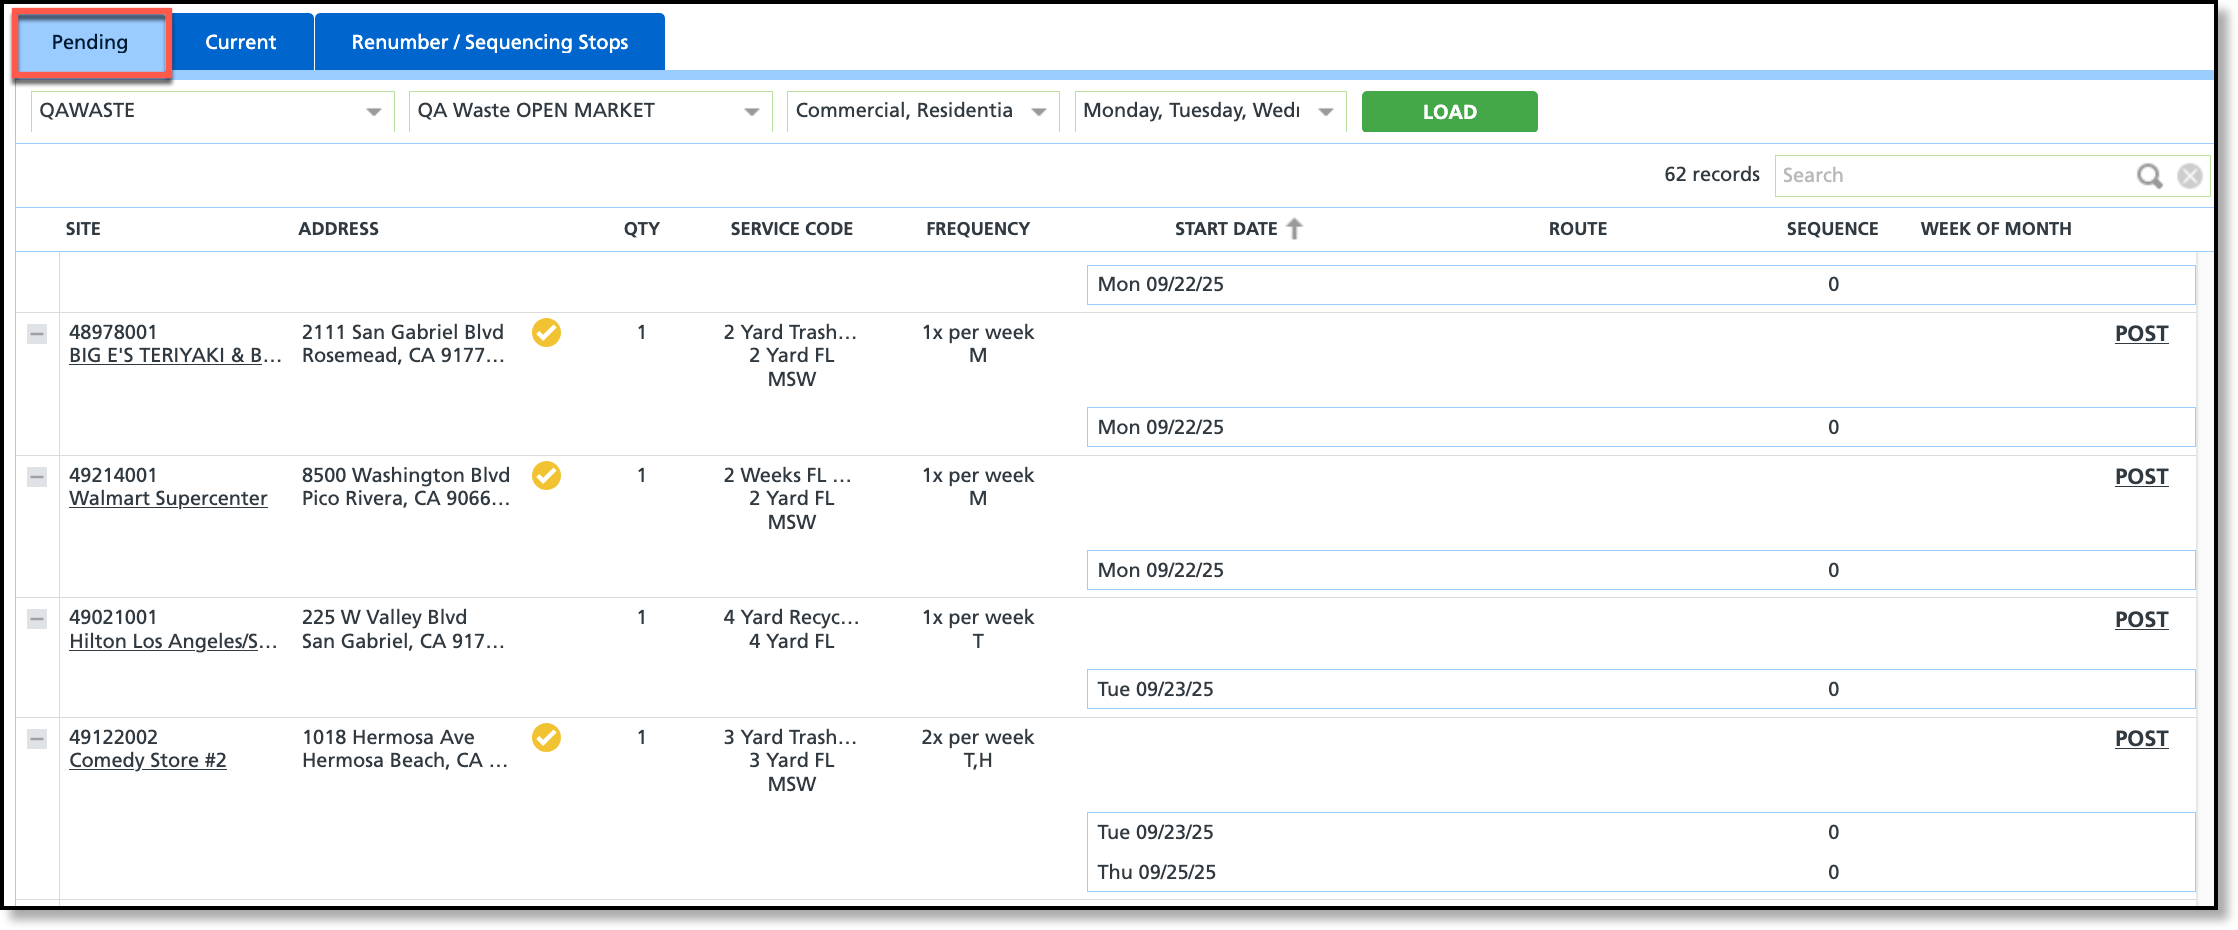
The Pending tab displays sites and their associated services that have not yet been assigned to a route. Once a site's services are posted to a route, the site is removed from the Pending tab and becomes available for further routing updates in the Current tab.

Permissions
The following permissions are required to use the Route Management screen:
| Permission ID | Permission Name |
| 87 | Route Management |
Step 1: Load Pending Services
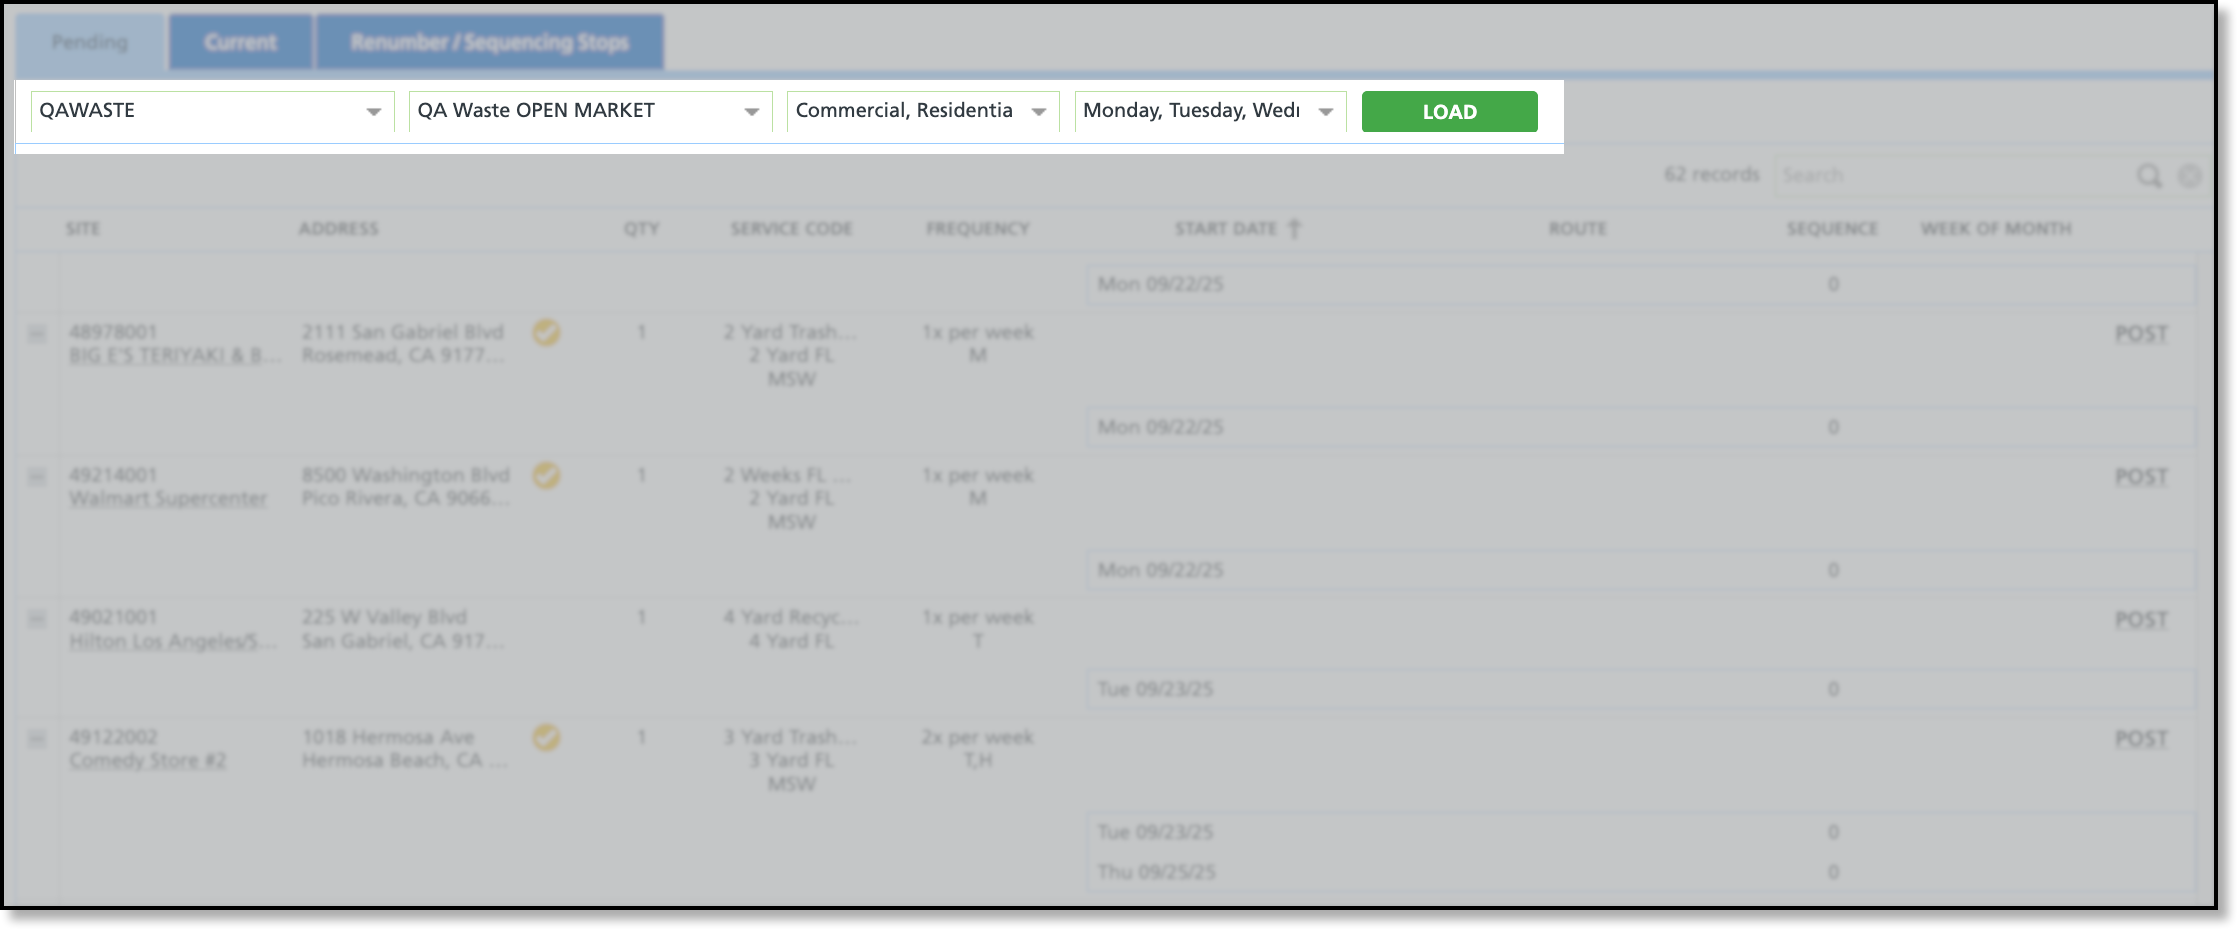
The Pending screen loads pending services once a user has made filter selections and clicks on the Load button.

Filter pending services to only view the areas you oversee.
- Select your assigned Division.
- Select the Service Region.
- Select the LOB (Line of Business services fall under).
- Select the Day of Week to filter on.
- Click Load.
Step 2: Assign and Post a Route
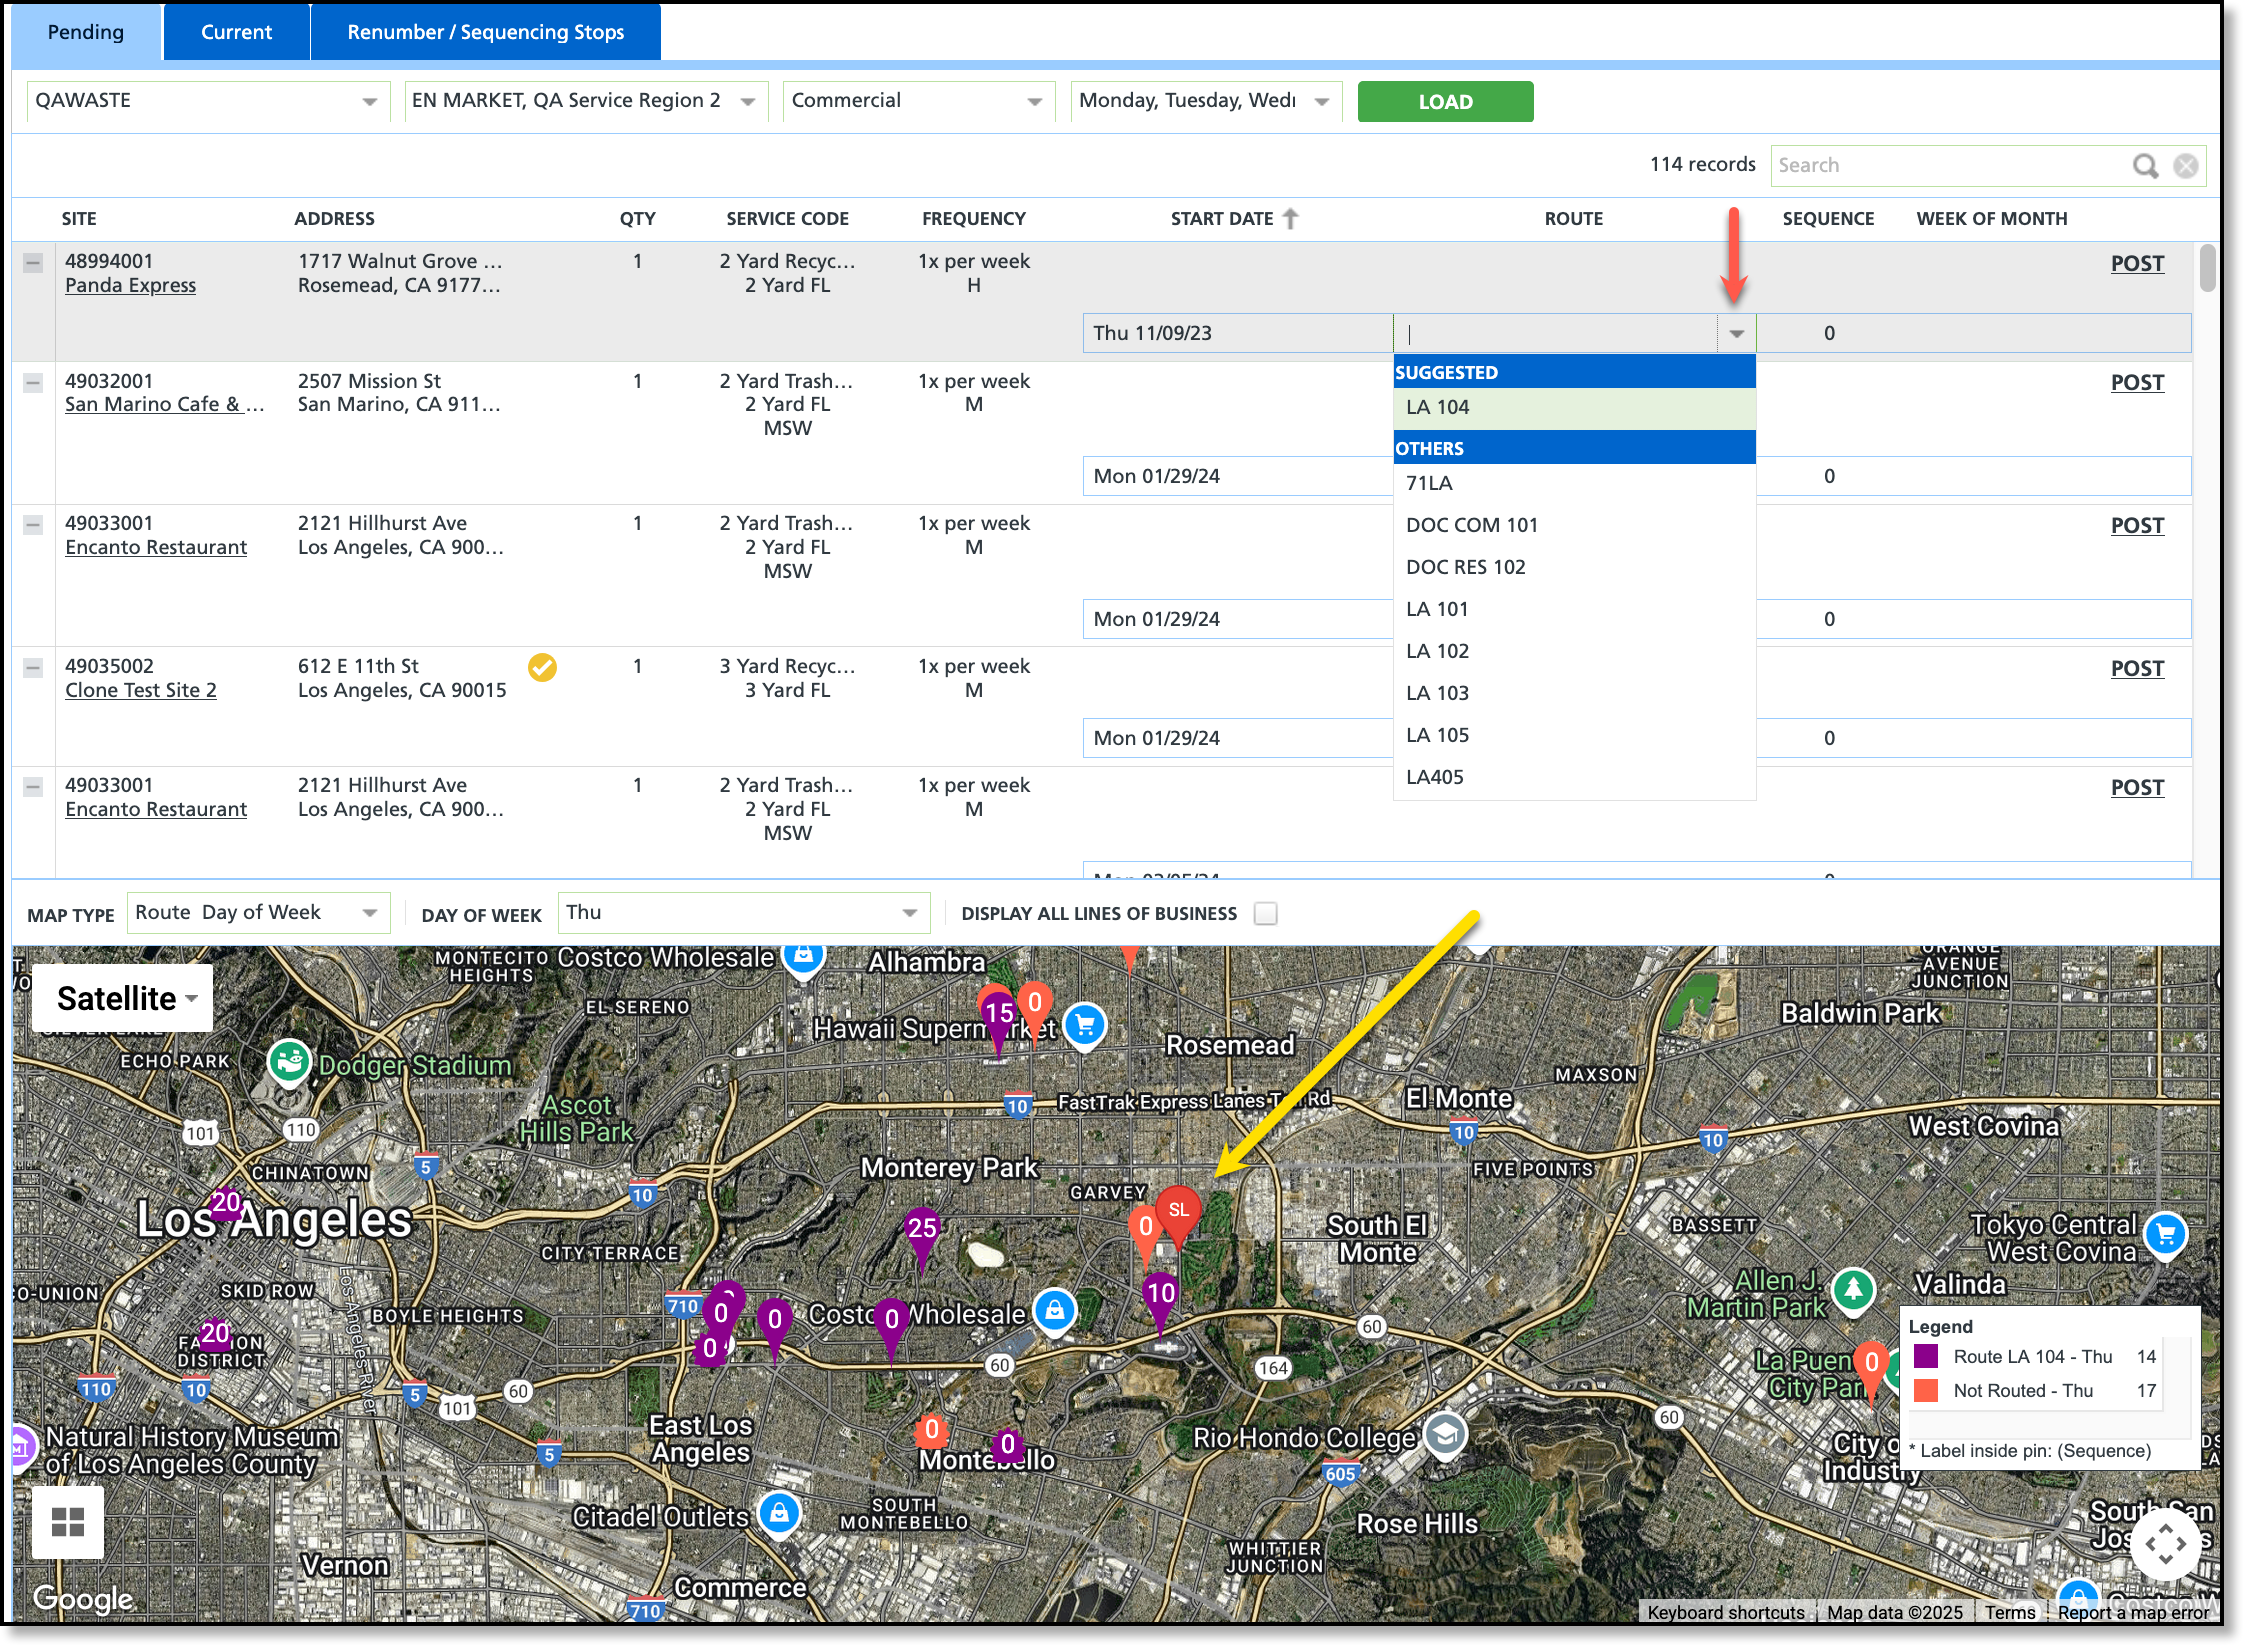
After the screen loads with pending services, review the listed sites. Click within a site’s row to display the map. The selected site will appear as a red pin, while other sites will be shown with pins color-coded by route.

Posting Logic
- If a service location's servicing spans multiple days, the location is listed once and its schedule records are grouped.
- Schedule records can be individually posted to allow users to focus on one day at a time.
- Schedule records with a "Posted" status can not be updated from the Pending screen. This must be done from the Current tab.
- Once all services for the location have been assigned a route, the location will no longer display on the Pending tab; instead, it will be visible on the Current tab.
- "Suggested" routes are determined by identifying the nearest active site service schedule for the same line of business and day of the week as the selected record, based on geographic distance. If no matching schedule is found, no suggestion is provided.
Posting Schedule Records
- Click on a service location from the list of pending locations. This will load the map in the lower grid and place a red pin over the location.
- Use the interactive features of the map to determine the optimal route for placing the service location. The selected location is marked with a red pin, while other locations are displayed with colors corresponding to their respective routes.
- Assign a route to the service location by clicking within the Route column for the location and selecting a route from the list.
- Dependent on nearby routes, the system will display a "Suggested" option to place the location on and an "Others" option. Review the Posting Logic section above for more information.
- If sequencing is used, enter a numeric value in the Sequence field.
- Select Post to add the service location to the selected route. Review the Posting Logic section above for more posting details.
- If the servicing of the location extends over multiple days, each schedule record is listed separately. Additionally, a separate "Posted" notification will display for each day that has been posted to the route.
- Select the next service location from the pending list and continue the same process until all pending services have been assigned to a route.
Related Articles
Route Management Overview
Current (Tab) - Modify a Route
Renumber / Sequence Stops


