Create a Billing Batch
Last Modified on 08/19/2026 9:24 am PDT
Pathway: Accounting > Billing
The Billing Batch screen streamlines the bulk processing of billing transactions within the Navusoft system. This article captures the process of creating a new billing batch.

Permissions
The following permissions are required to create a billing batch:
| Permission ID |
Permission Name |
| 109 |
View Billing |
| 110 |
Add Billing Batch |
Field Descriptions
Field
|
Description
|
Division
|
The division a billing batch is being created for.
|
Bill Group
|
The specific bill group the batch applies to.
If the Bill Group is not limited to a single division, but not all divisions should be included in the batch, right-click within the row of the batch and select 'Omit Divisions from Billing Batch' from the menu that displays. This option is only available if the batch status is "Not Started."
|
| Type |
Determines what the billing batch will include in the billing cycle.
- All Charges: billing batch will include recurring services, work order charges and manual charges.
- Work Order and Manual Charges Only: billing batch will only include work order and manual charges.
- Catch Up: optional billing method that can be used to help prevent accounts from receiving larger invoice balances when a recurring service is added or increased between billing periods. This method also allows manual charges, and work order charges to be billed incrementally rather than accumulating until the next billing cycle. Additional documentation is available here: Catch Up Billing.
|
| Invoice Date |
The date when an invoice is issued. This is the 'Bill to Date' for work order and manual charges.
|
Bill To Date
|
The date the billing batch is billed through for recurring services. This field only displays if the selected Type is All Charges or Catch Up.
|
| Invoice Flyer | Option to upload a PDF attachment to invoices that will append as a last page to the invoice for use cases such as: communicating upcoming changes, sharing important notifications, promoting services, or providing other information to customers.
Logic
This feature is only available to billing batches that are still in an editable status (right-click > Edit Batch). Adding, replacing, or deleting a PDF attachment is not allowed once the batch is marked 'Completed,' or it has been marked 'Voided.' The PDF attachment applies only to the billing batch where it was uploaded. It remains available with that batch for future reference but does not carry forward to future billing cycles.
Maximum file size is 1 MB.
Viewing the attachment
After the billing batch has been processed and posted, the PDF attachment will append as a last page to the invoice. Viewing the attachment is available from the emailed link, Customer Portal, or AR History.
|
Create a Billing Batch
After the initial creation of a billing batch, future batches can be automatically generated based on the Bill Group's setup. When Automatic Billing Batch Creation is enabled, completing a billing batch automatically creates the next billing batch for the Bill Group. Catch Up billing batches are excluded from this automation and must be created manually as needed. If this setting is not enabled, billing batches must be manually created for each billing cycle.

- Open the Create Billing Batch screen by clicking on the green + 'Add' icon.
- Choose the Division for the billing batch.
- Select the Bill Group relevant to the batch.
- Select the Type.
- Enter the Invoice Date for the billing batch.
- If All Charges or Catch Up was selected as the Type, enter a Bill To Date.
- Click 'Create Batch' upon completing all fields.
Billing Batch - Pending and In Process
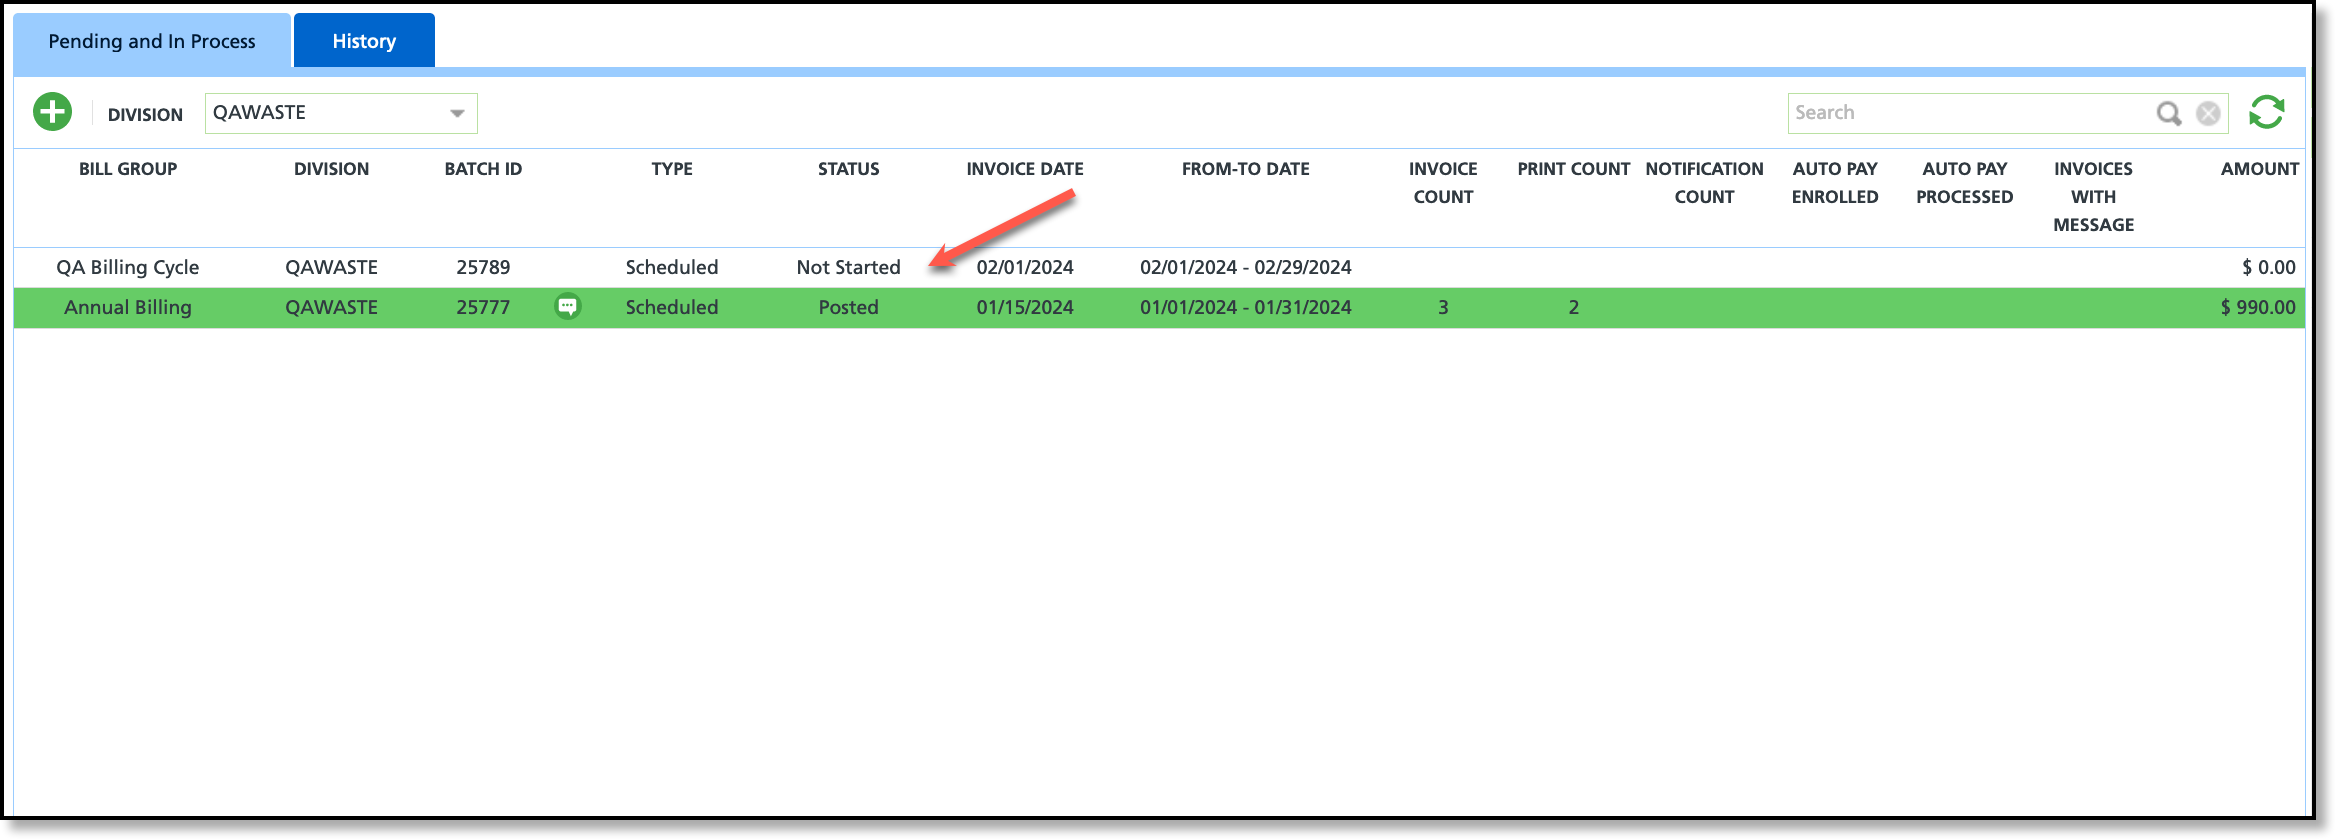
After a billing batch has been created, it will display in the Pending and In Process tab with a 'Not Started' status. Refer to the Pre-Billing Workflow article to continue working through the billing process.
Related Articles:
Billing Screen Overview
Pre-Billing Workflow
Billing - Process and Post a Billing Batch