Holiday Schedule Setup
Last Modified on 05/26/2026 9:57 am PDT
Pathway: Setup > Operations > Holiday Schedule
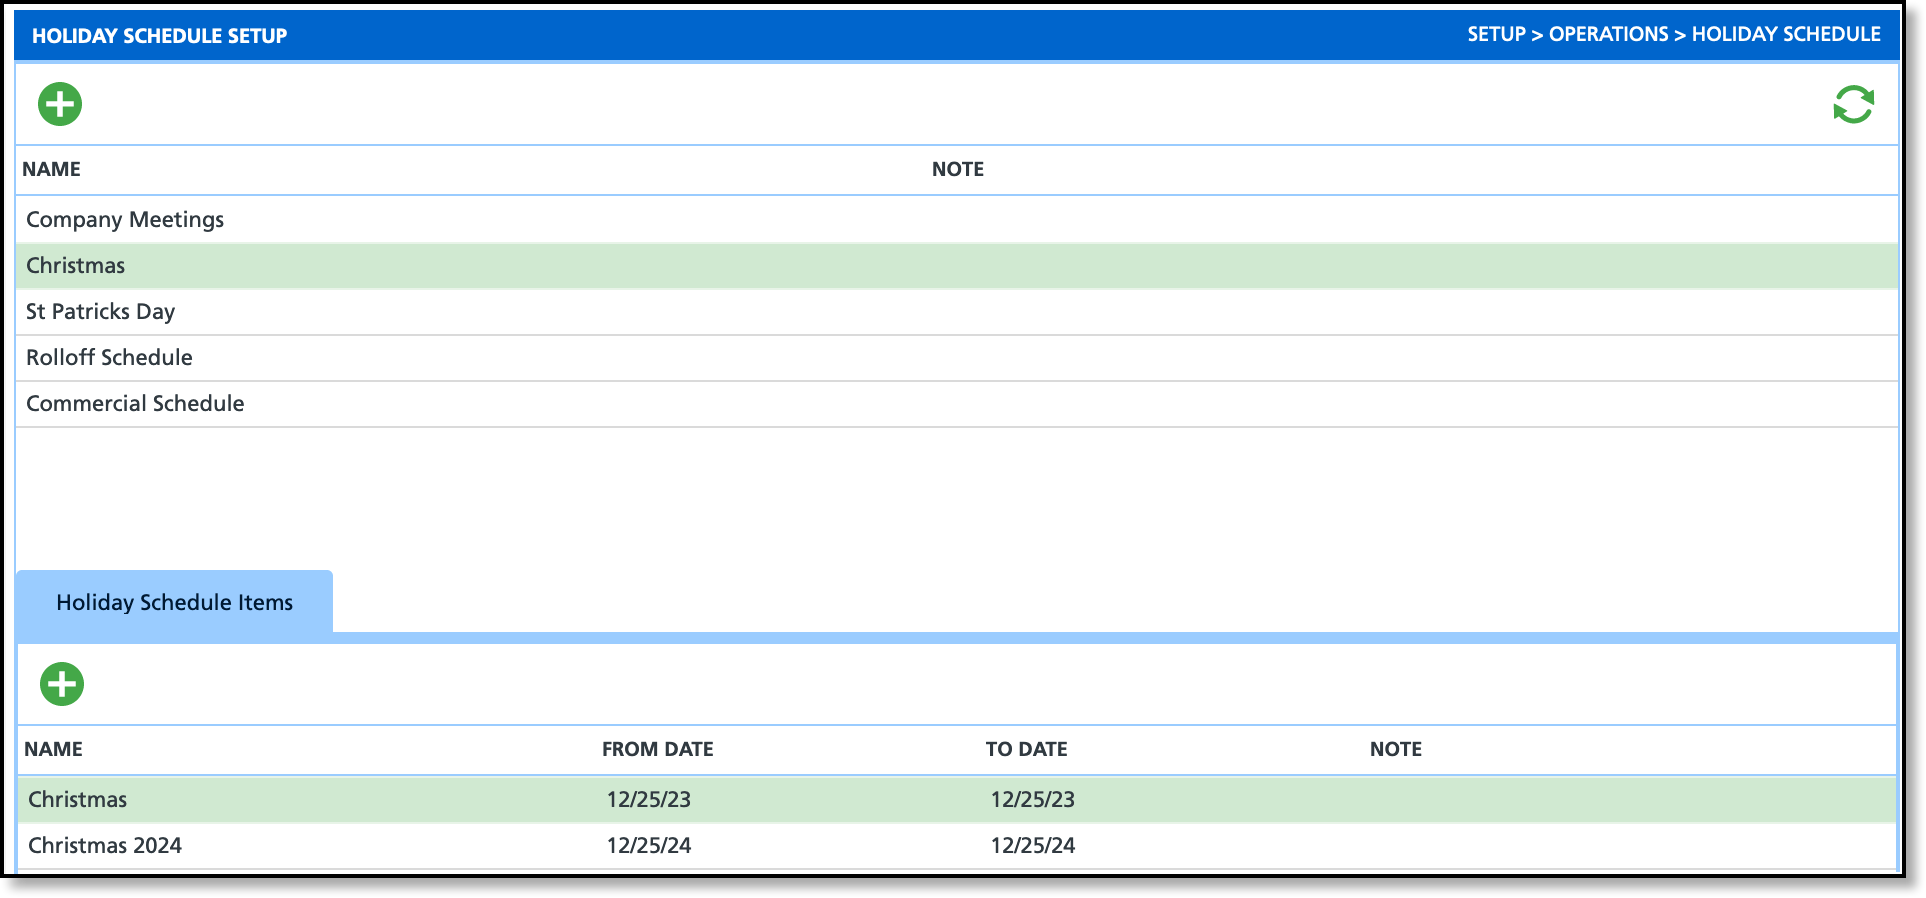
The Holiday Schedule Setup tool is used to create, schedule, and update holiday dates. Scheduled holidays display in red on the customer service calendar to help users identify holidays and avoid creating work orders on those dates; however, the system does not prevent a work order from being created. This screen includes two grids for managing holidays: the top section defines the holidays, and the bottom section (Holiday Schedule Items) schedules them using date fields.
Permissions
The following permission is required to view, add and edit the Holiday Schedule Setup screen:
| Permission ID | Permission Name |
| 24 | Setup \ Operations |
e Add Holiday Schedule tool
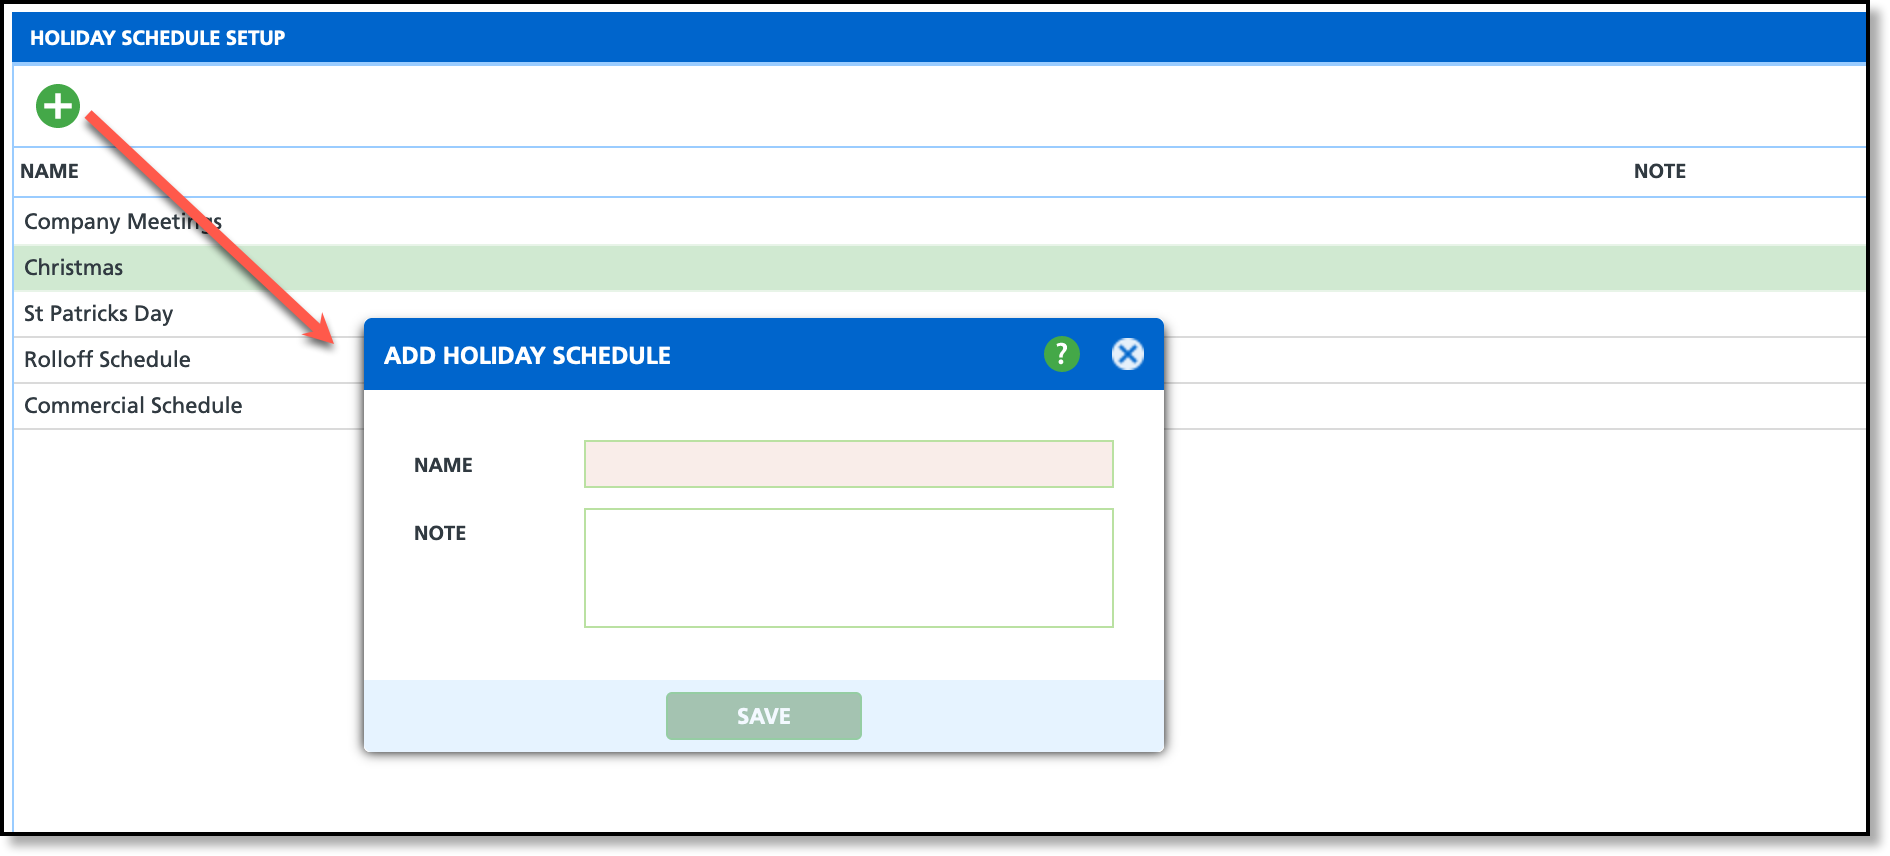
Add a Holiday
- Enter a Note (optional).
- when finished.
Add and Edit Holiday Schedule Items
In the Holiday Schedule Items section, schedule the previously identified holidays using the From Date and To Date fields. If maintaining a history of holidays is not necessary, existing holiday dates can be edited to reflect current or future schedules.

Add Holiday Schedule Item
- Select the holiday from the upper grid you would like to create a holiday schedule for.
- Select the green '+' icon and the 'Add Holiday Schedule Item' popup editor will display.
- Enter a Name for the holiday. This will display on the Customer Service Calendar for all accounts.
- Enter a From Date in MM/DD/YY format. This is the date the holiday begins.
- Enter a To Date in MM/DD/YY format. This is the date the holiday ends.
- Enter a Note (optional). This displays on the Calendar for all accounts by hovering over the holiday name.
- Click Save when finished.
Edit a Holiday Schedule Item
- Select the holiday from the upper grid to open to display its associated Holiday Schedule Items tab in the lower grid.
- Double click on the holiday schedule line item you would like to edit to open the Update Holiday Schedule Item popup editor.
- Make your necessary edits and click away for the system to auto-save the change.


