Service Region Setup
Last Modified on 06/29/2026 11:34 am PDT
Pathway: Setup > Services > Service Region
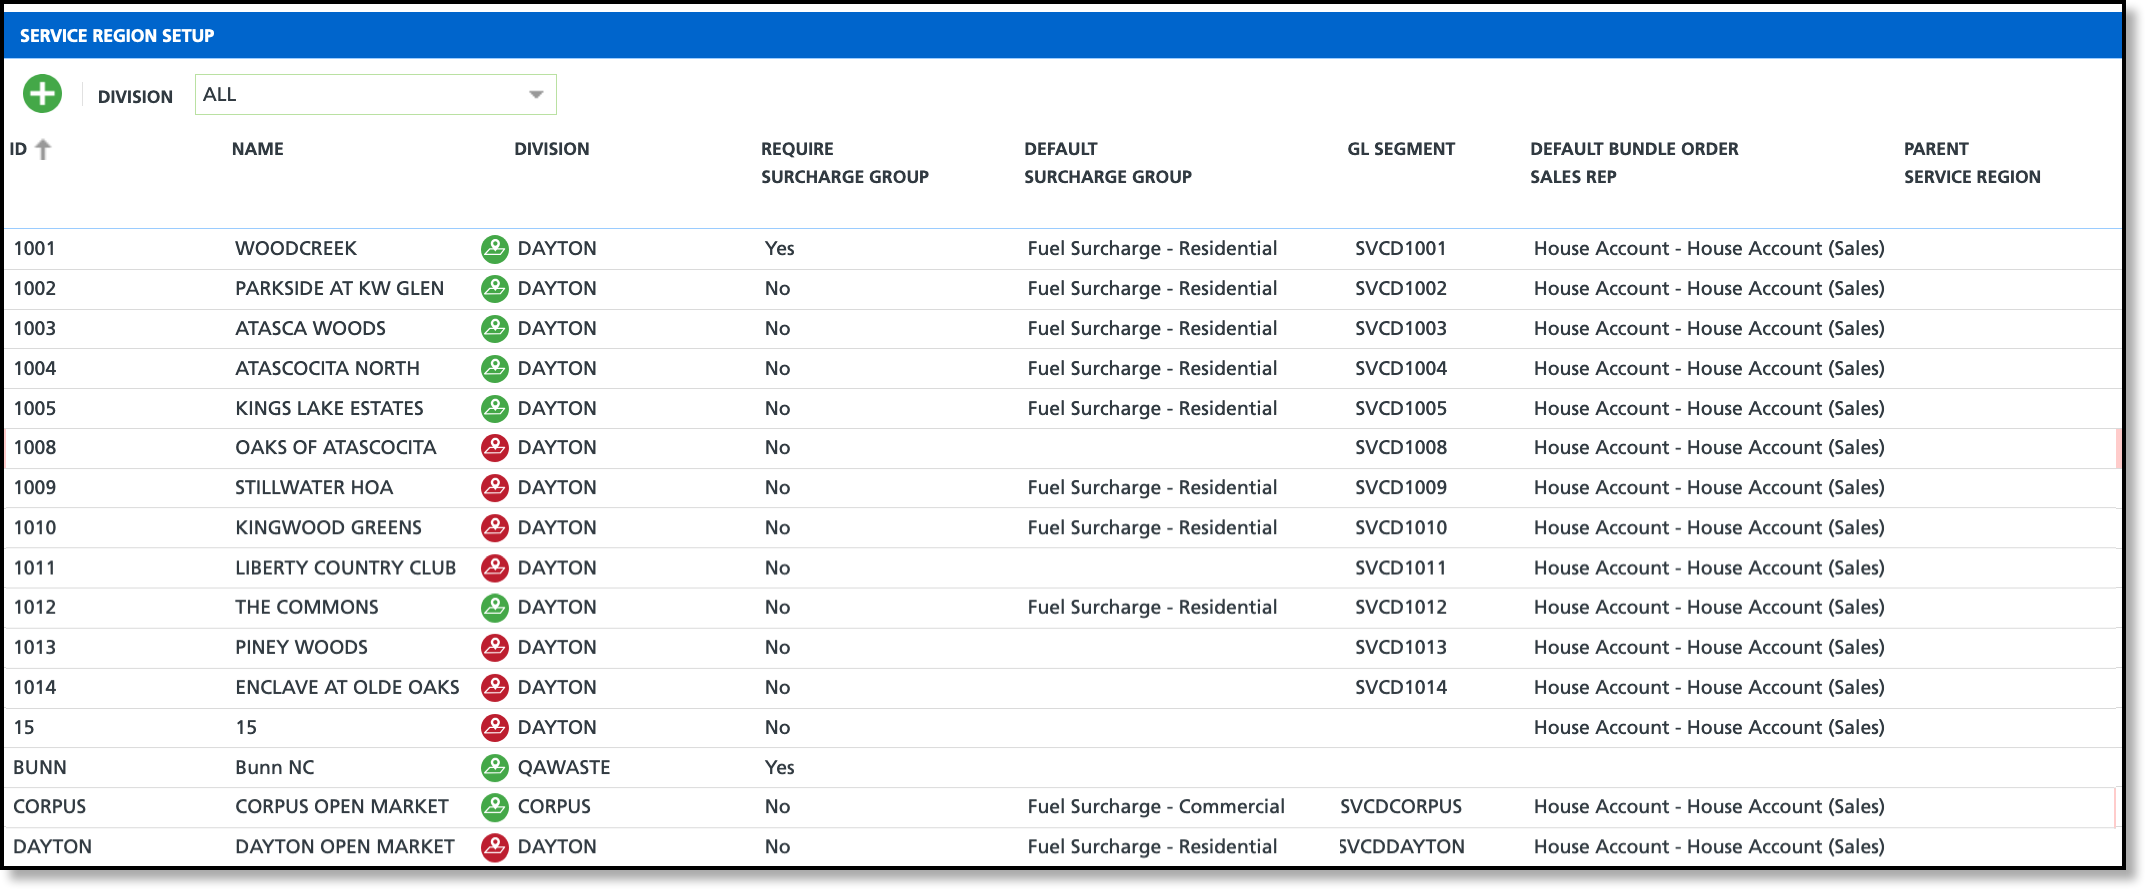
Service Regions are smaller geographic areas that make up a division and are assigned at the site-level. Service Regions provide flexibility in auto-assigning surcharges to sites and assist in areas of operations, accounting, billing and reporting. Use the Mapping feature to create a perimeter for a service region. When a new site is added with an address that falls within this perimeter, it will automatically be associated with the service region.
Permissions
The following permission is required to add and edit in the Service Region Setup screen:
| Permission ID |
Permission Name |
| 26 |
Setup / Services |
Field Descriptions
| Fields |
Descriptions |
ID
Required
|
The 10 character ID number specific to the service region.
|
Name
Required
|
the name of the Service Region.
|
Division
Required
|
The Division a service region is assigned to. The map icon next to the division opens an interactive map, enabling you to draw a perimeter around the service region's geographic area. When creating a site, if the address is within the service region, it’s automatically assigned; otherwise, users will need to manually select the appropriate service region.
|
Require Surcharge Group
Required
|
Specifies whether a Surcharge Group must be assigned to the account or site upon creation.
|
Default Surcharge Group
|
Drop down field to assign a default surcharge group if one applies.
|
GL Segment
|
Option to assign a GL Segment to track revenue from the specific service region in Accounting > GL Transaction Processing.
|
Default Bundle Order Sales Rep
|
When utilizing online orders, a selection here will auto-assign a default sales representative.
|
Parent Service Region
|
The Parent Service Region if the Service Region being created is subordinate (child) to another.
|
Neighborhood
|
|
Require Tax Group
|
If enabled, a Tax Group assignment is required for sites belonging to this Service Region.
|
| Allow Portal Self Registration |
|
Active
|
Controls if the Service Region is active and available to be assigned to a site.
- 'Yes' = Active.
- 'No' = Inactive.
|
Add a Service Region
Review the setup process outlined here for adding a service region. Only the required fields highlighted in red are necessary to establish a service region; however, additional fields may be completed to meet your company’s specific requirements.
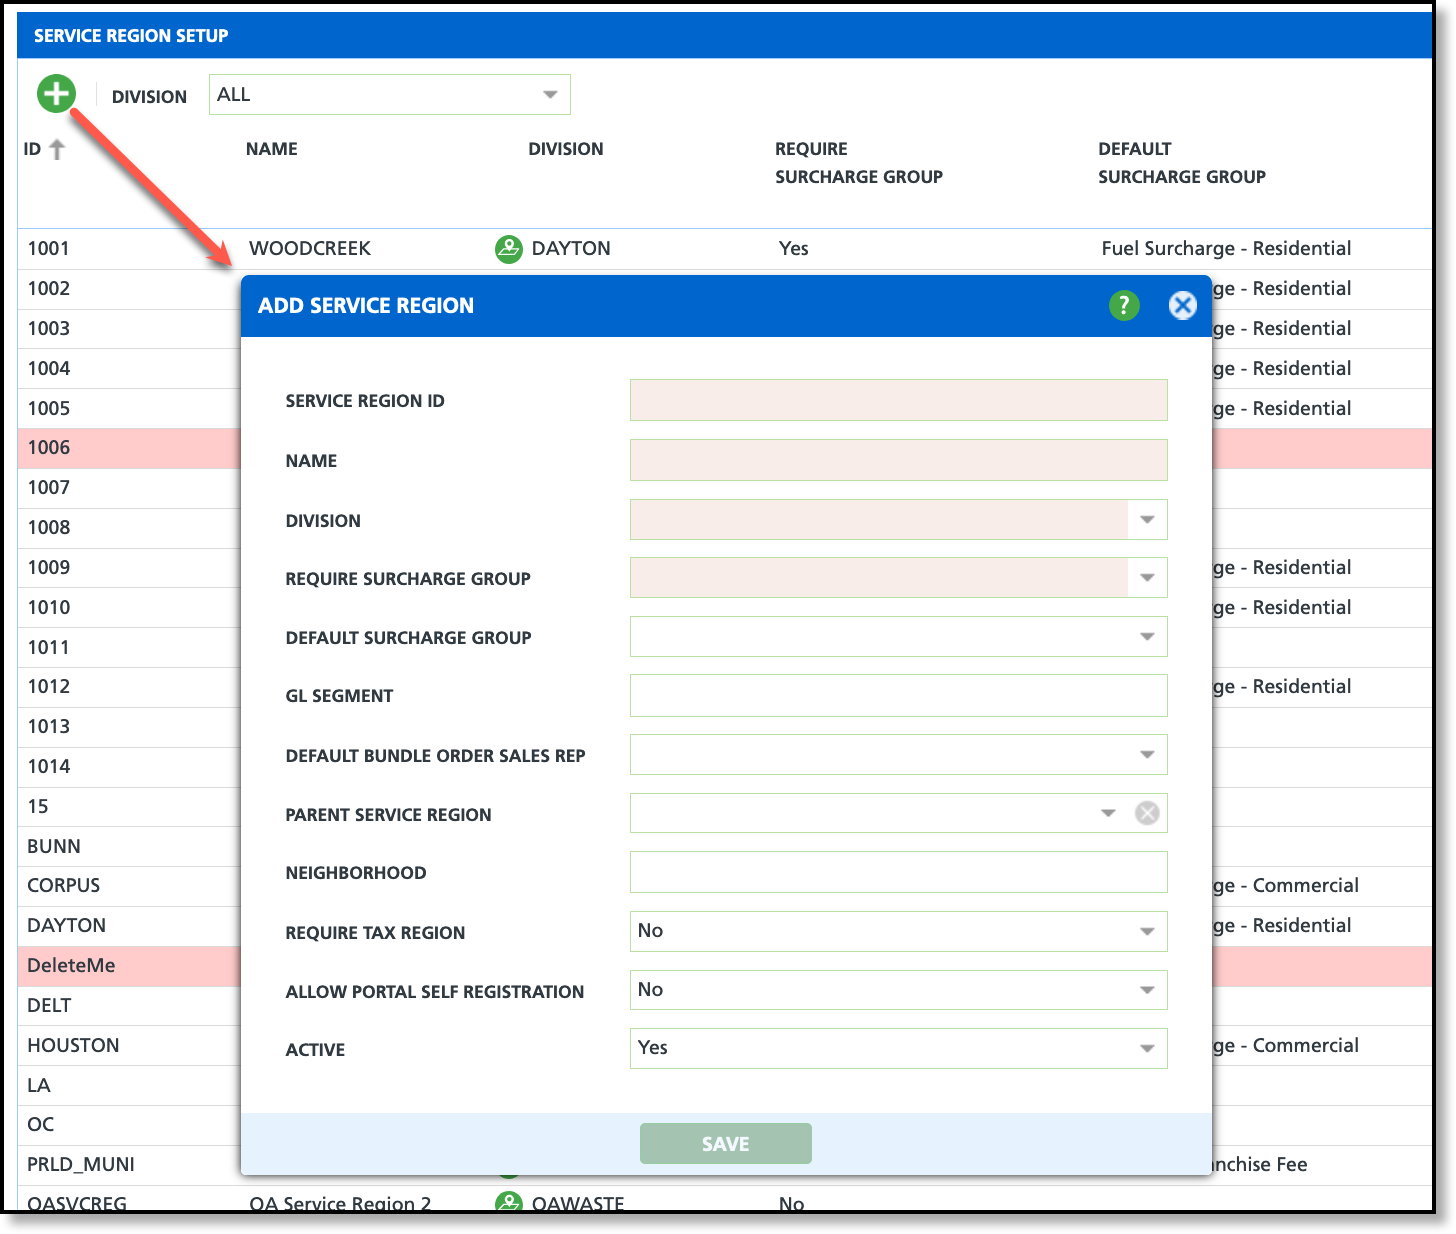
- Click the green '+' at the top of the screen to open the Add Service Region popup.
- Fill out all Required Fields.
- Enter an ID for the service region.
- Enter a Name for the service region.
- Select the Division the service region is assigned.
- Choose whether a surcharge group is required when creating a site within the service region.
- Verify the Active status is set to "Yes" to enable it for use.
- Complete additional fields based on your company's setup requirements.
- Click Save when finished.
Map a Service Region
Click the map icon for a division to open an interactive map, and use the available tools to draw a perimeter around a specific service region within the division. By default, sites are displayed but can be hidden by selecting 'Hide Sites.' Once a perimeter is set, any new site added within this area will automatically be assigned to the service region.
Related Articles
GL Transaction Processing


