Active Dispatch
Last Modified on 10/09/2024 1:33 pm PDT
Pathway: Operations > Active Dispatch
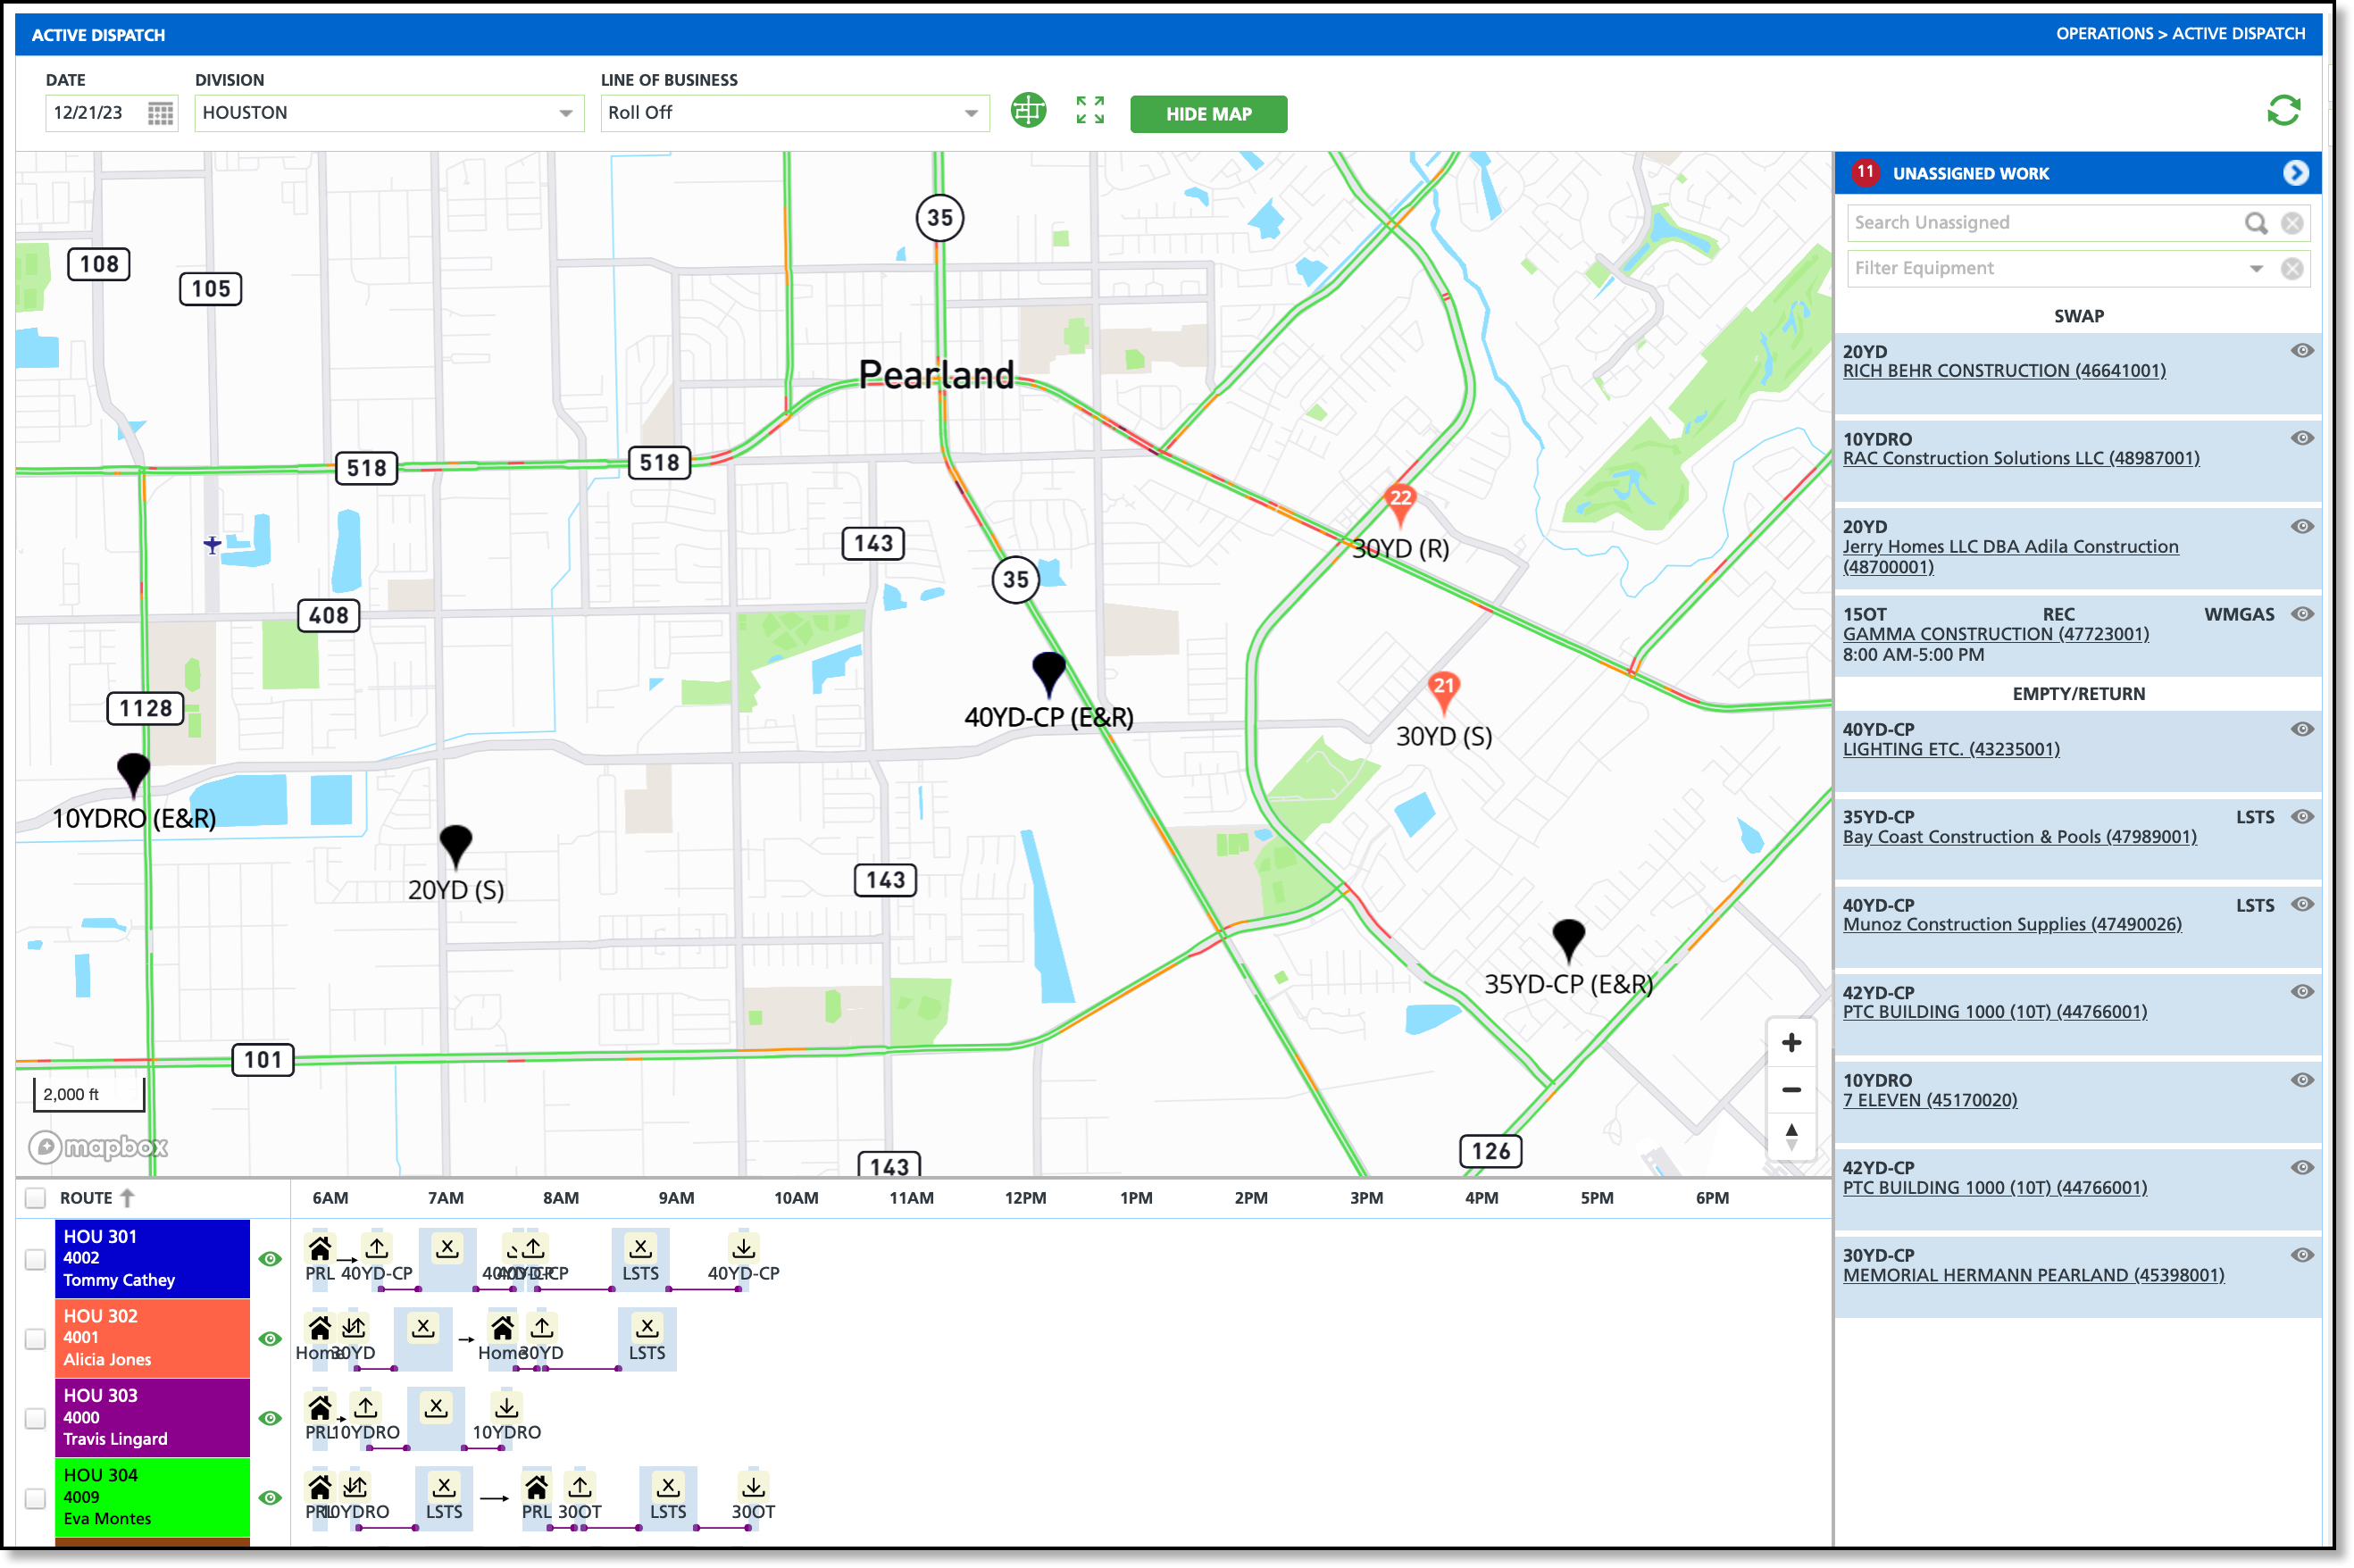
The Active Dispatch screen enables dispatch operators to manage routes more efficiently. Users can utilize drag-and-drop functionality to assign unassigned work orders to routes, transfer assigned work orders between routes, or return them to the unassigned list. As stops are added to a route (or changed between routes), the pin for each stop will display in the corresponding color of the assigned route.
Permissions
The following permissions are required to use the Active Dispatch screen:
| Permission ID | Permission Name |
389
| Active Dispatch |
Setup Requirements
Pathway: Setup > Services > Line of Business
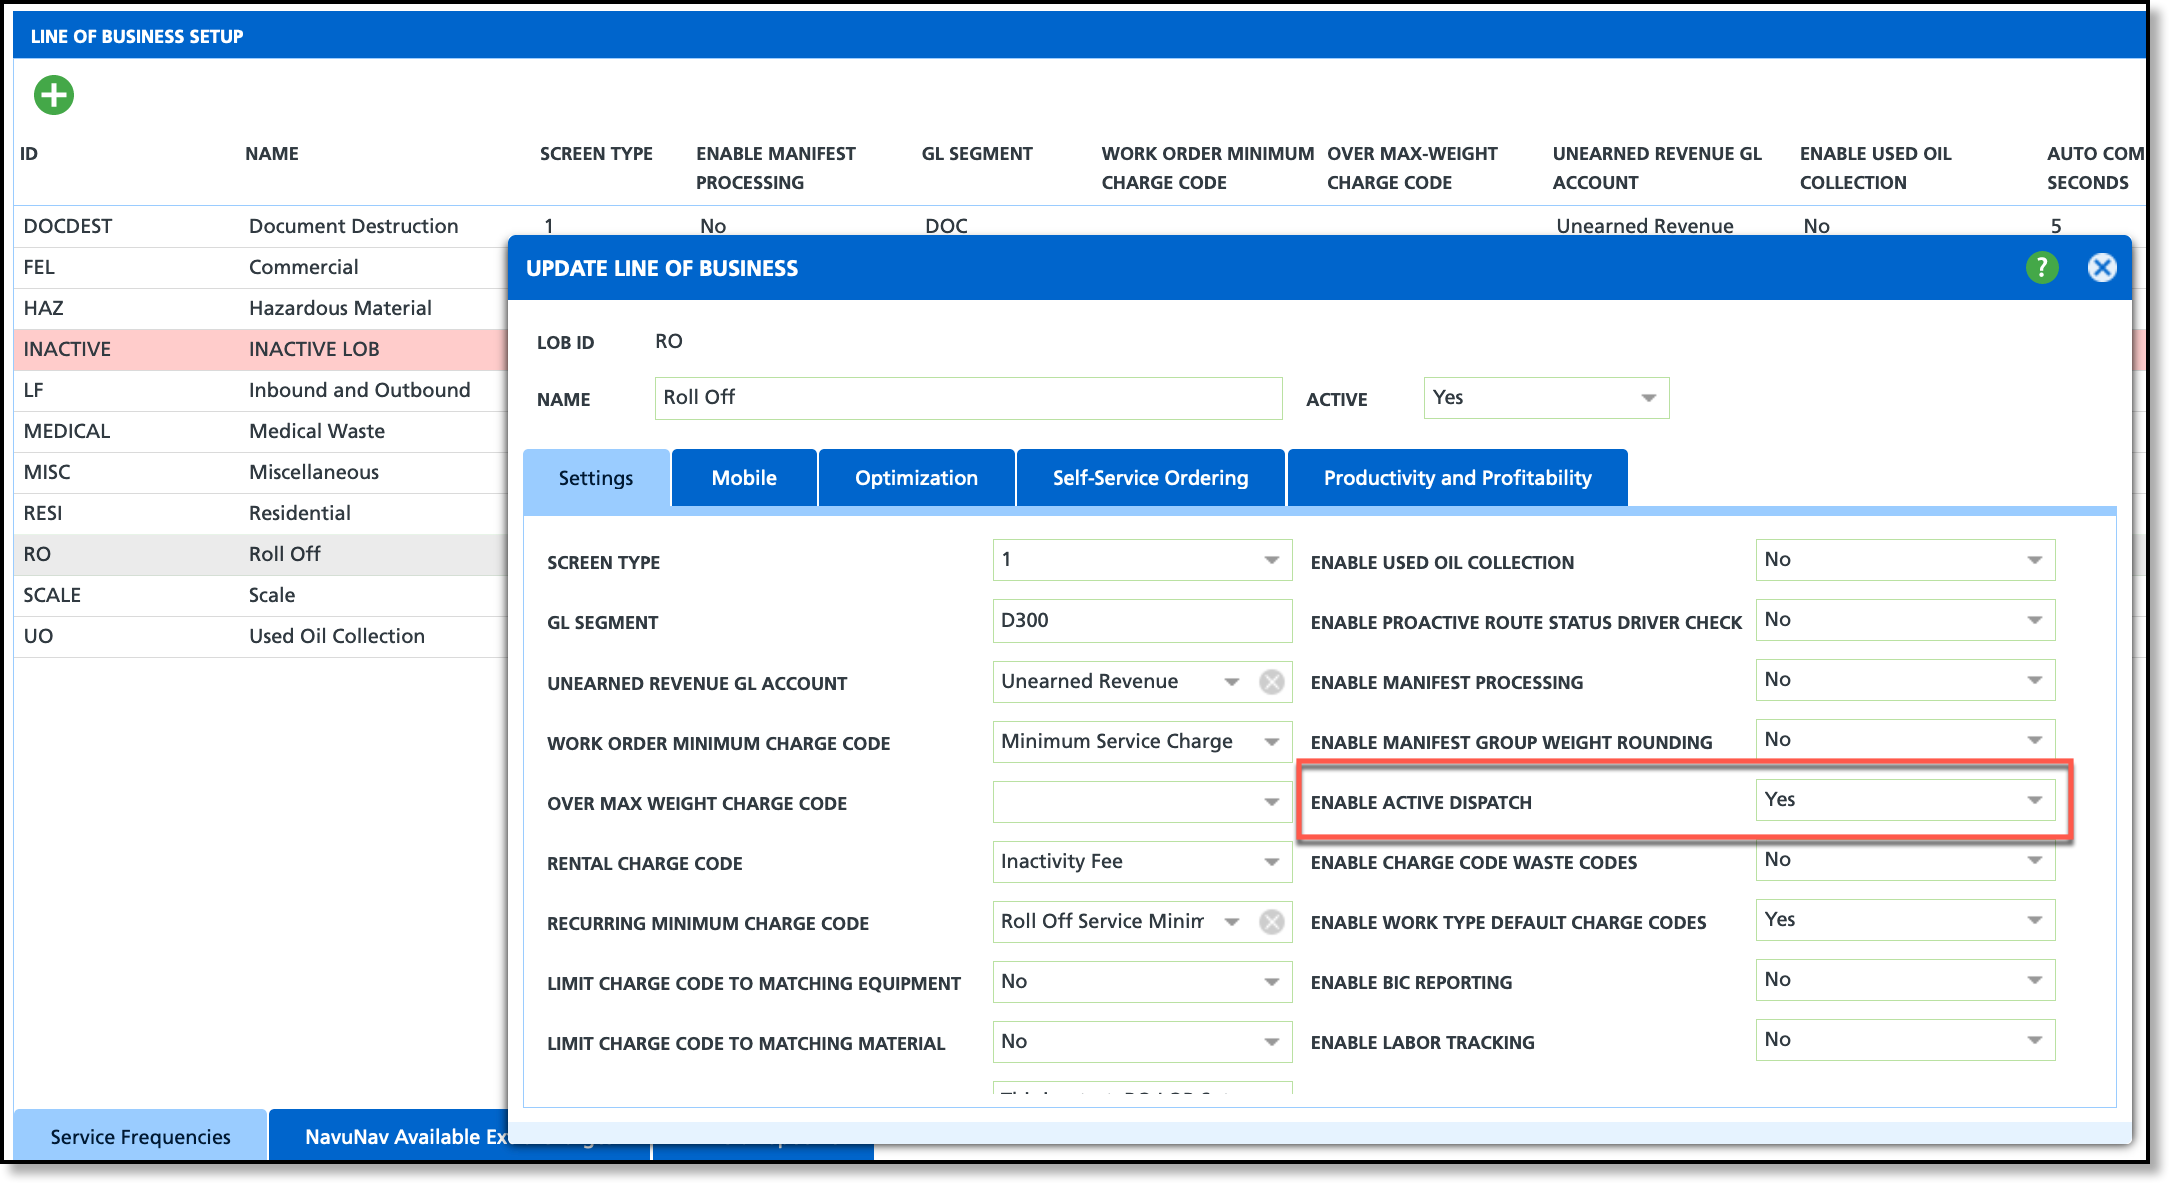
For each line of business that should be available on the Active Dispatch screen, "Enable Active Dispatch" must be set to "Yes."
Features and Descriptions
The Active Dispatch screen is divided into three sections: Route Map, Unassigned Work, and Routes. The date picker and filter options at the top of the screen determine what is displayed.
| Feature | Description |
| Filters |
| Date | Filters the screen to only display the routes for the selected day.
|
| Division | Filters the screen to only display routes assigned to the selected division.
|
| Line of Business | Filters the screen to only display routes assigned to the selected line of business.
|
| Route Map |
| Trucks | Truck icons display on the map indicating the truck's last known location and are color coded for route identification. |
| Pins | Color coded pins are displayed over the location of each stop. Pin color is determined based on the stop's route assignment. Unassigned stops are identified using a black pin. |
Unassigned Work
|
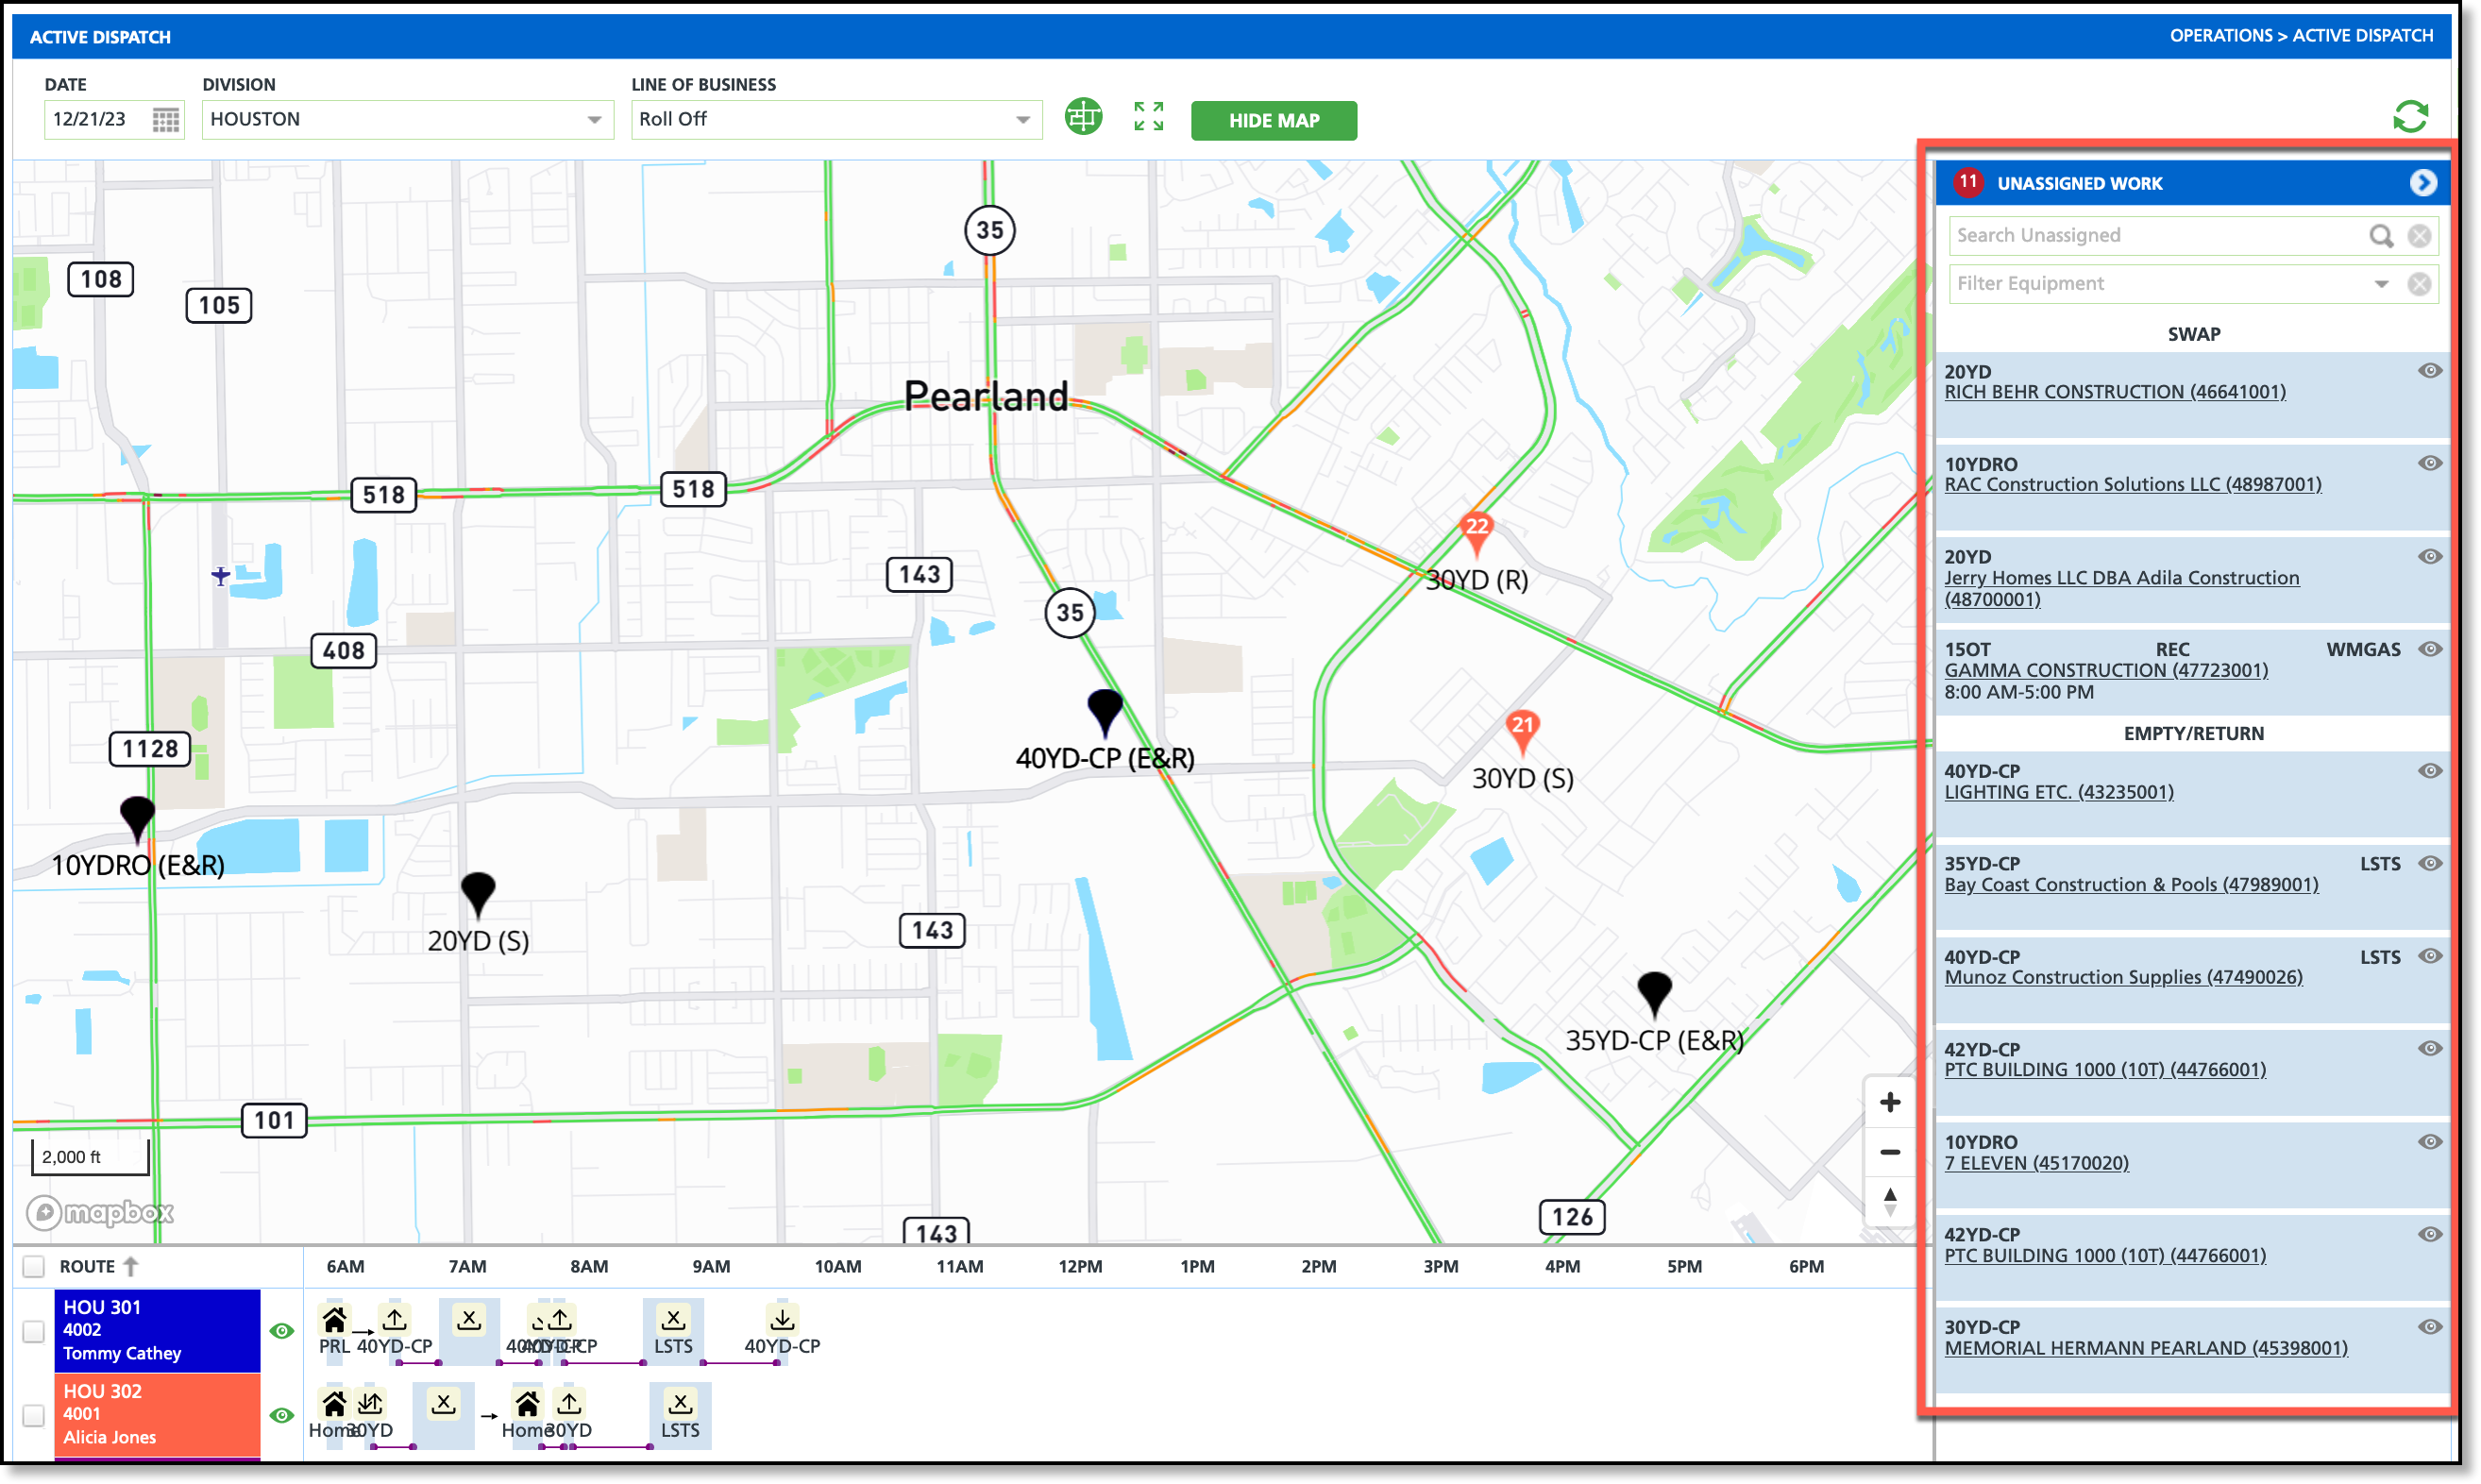
| Work Type | Unassigned work is categorized by its work type. Click on the account's name to open the Customer Service screen for the account. Otherwise, click and drag the unassigned work order to the route it best applies and drop into place on the route's timeline.
Search and filter unassigned work using the options available at the top of the list. |
| Routes |
| Route | Color coded routes display on the left side of the screen below the map.
|
Hide Route Icon
| Hide the route from view on the map by selecting the icon displayed to the right of the route's information. |
Timeline
| An interactive timeline is displayed for each route allowing users to move stops around and drag and drop unassigned work into the timeline of a route it best applies. |
Unassigned Work
The Unassigned Work column displays the equipment type ID, site name, and work order number for scheduled services that have not yet been assigned to a route, categorized by work type. When an on-call order is created without an assigned route, it will display under the matching work type. Pins of the stops displayed in the Unassigned Work column display black.
Assign Work to a Route
This screen uses an interactive drag-and-drop feature that allows users to select unassigned work and drag it down to the route's timeline for quick assignment. Before dragging and dropping unassigned work, review the route map to identify which route the stop should be placed on. Routes are color-coded in the lower grid, and when a stop is added to a route, the corresponding pin on the map will display in the same color as the route.
Assigned Work
Assigned work consists of stops that are assigned to a route and are displayed in the lower grid along with the assigned route information.

Move Stops
From the timeline, users can quickly select, drag, and drop a stop from one route to another, or change the order of stops for a specific route. Stops are automatically saved and updated in both Dispatch and the driver app as they are moved.
Drag Stops Back to Unassigned Work
The Active Dispatch screen also allows a user to select a stop and drag it back up and drop it into the Unassigned Work column. The system will accurately categorize it based on the work type and subsequently update the work order and route.
Route Optimization
Route optimization is an added feature in Navusoft that balances and reorganizes stops among routes to enhance operational efficiency. Additional information including setup requirements can be found here: Route Optimization
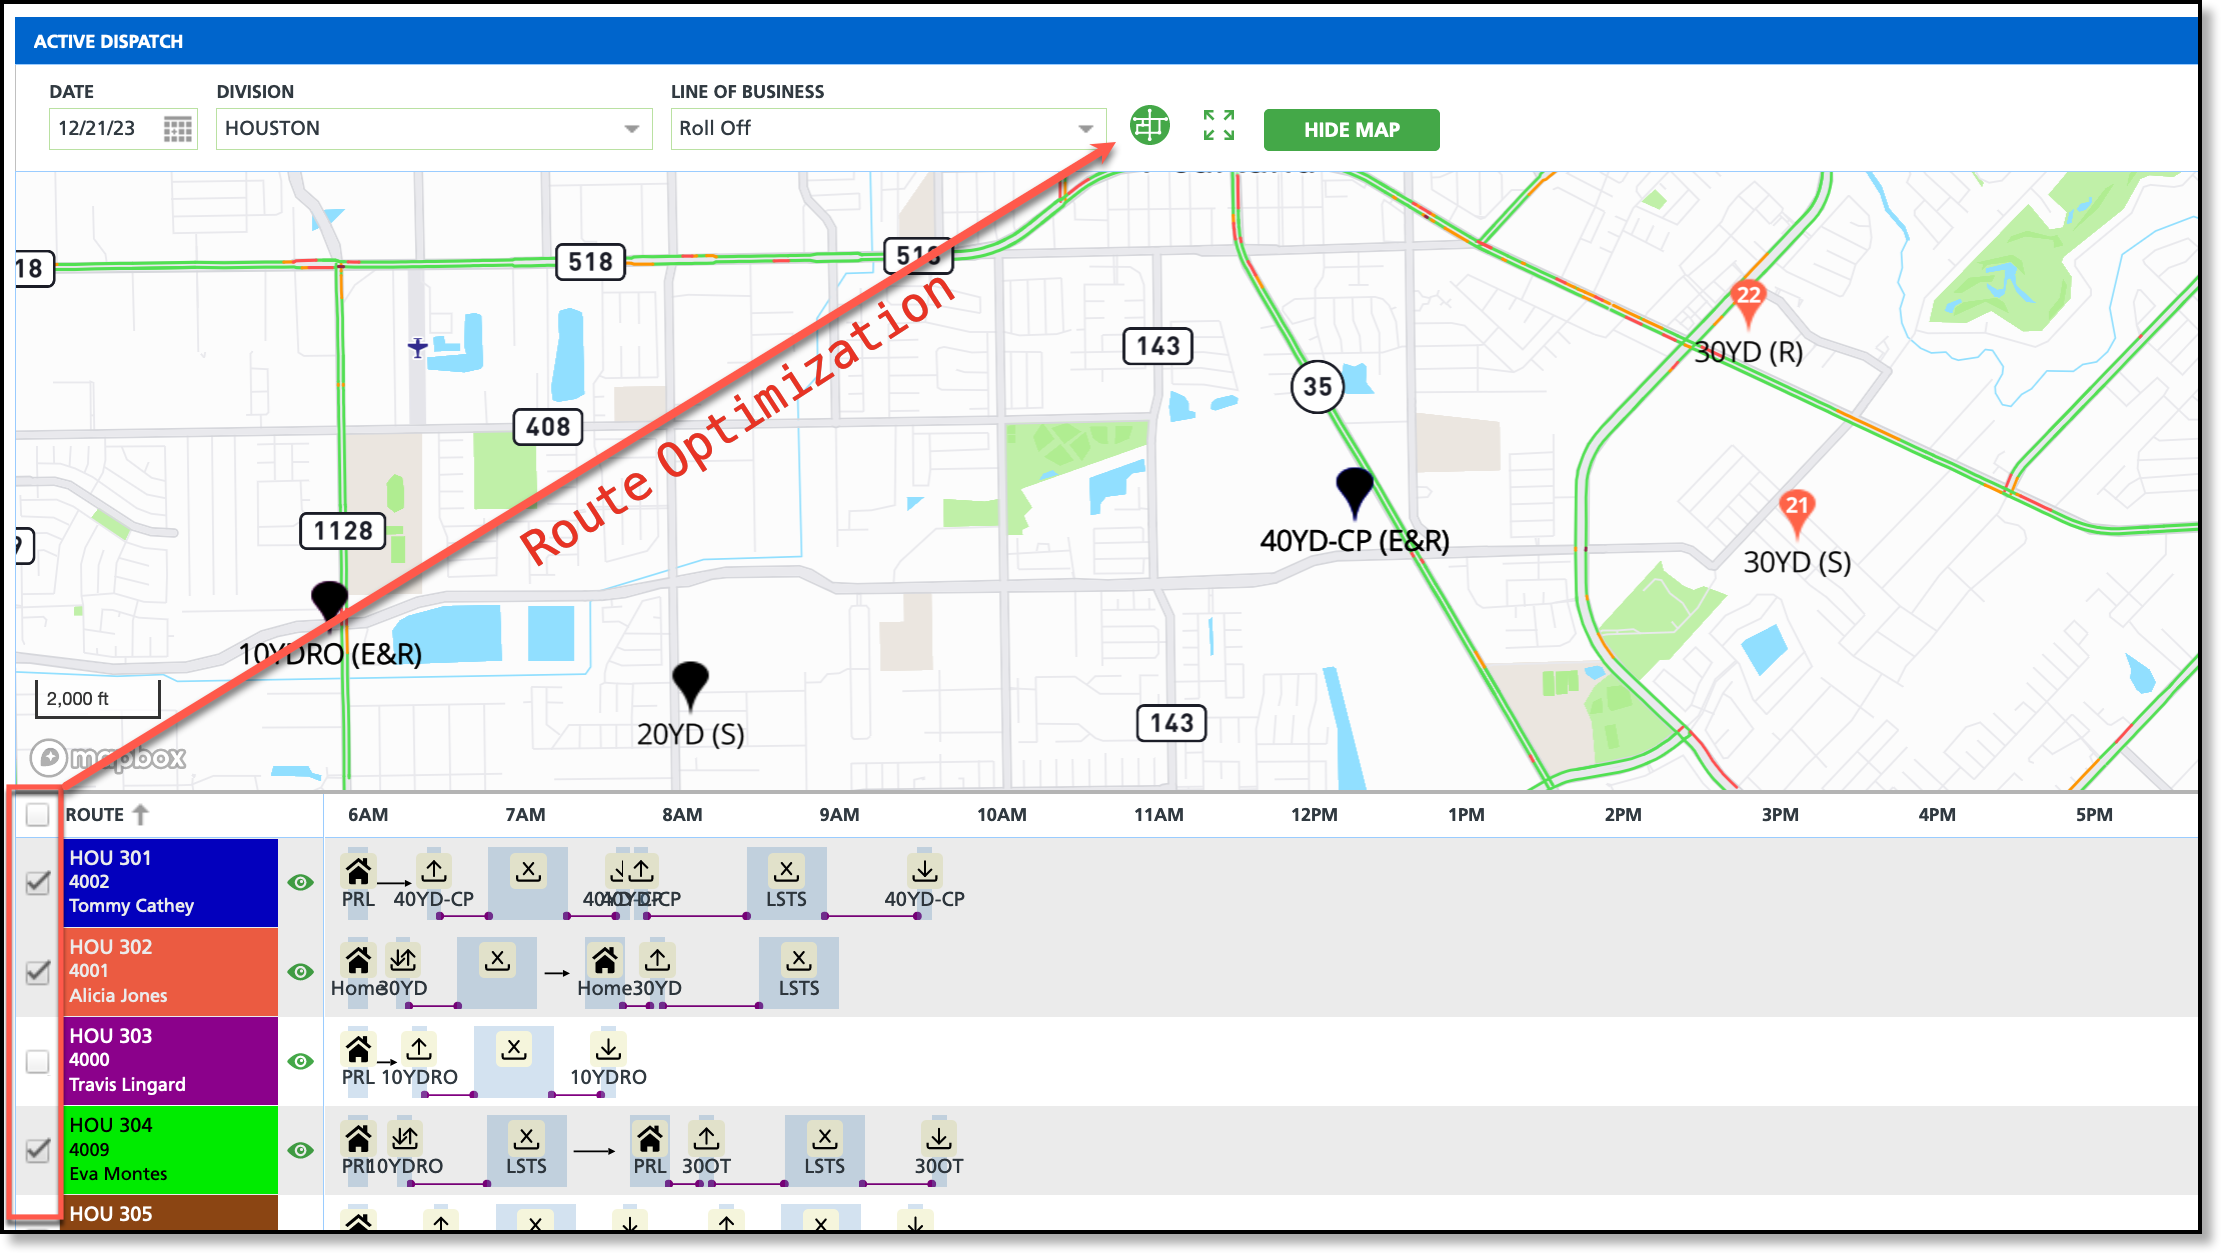
Optimize Routes:
- Select check box for each route you would like to optimize.
- Click on the Route Optimization icon and the Start Route Optimization popup will display.
- Select a Type from the drop down list of options. After a selection is made, additional Start and End fields display. Type options include:
- Optimize Route Sequence
- Takes the stops that are on a route and calculates the optimal sequence. This Option does not move stops between routes.
- Optimize Routes
- Takes the multiple routes selected and balances and moves stops for all routes selected.
- Insert Unsequenced Stops
- Determines optimal placement of an unsequenced stop among the already sequenced stops on a route.
- Select the Start Location and End Location. Options include:
- Route Starting/Ending Yard
- Uses the default settings assigned in the route setup as the route start and end location.
- Custom Location
- Provides an option to add an address if the route start/end is different than the default settings.
- Driver Last Location/Last Stop:
- Starts the route from the last known user location.
- Last Stop estimates the optimal ending location for the route.
- Optional: Select an Optimization Override. Enables the override of both Line of Business and RouteSmart route optimization settings. If left blank, Line of Business optimization overrides are applied. If Line of Business lacks optimization overrides, RouteSmart's third-party integration settings are used.
- Select Start when finished.
Example when Route Optimization is Complete:
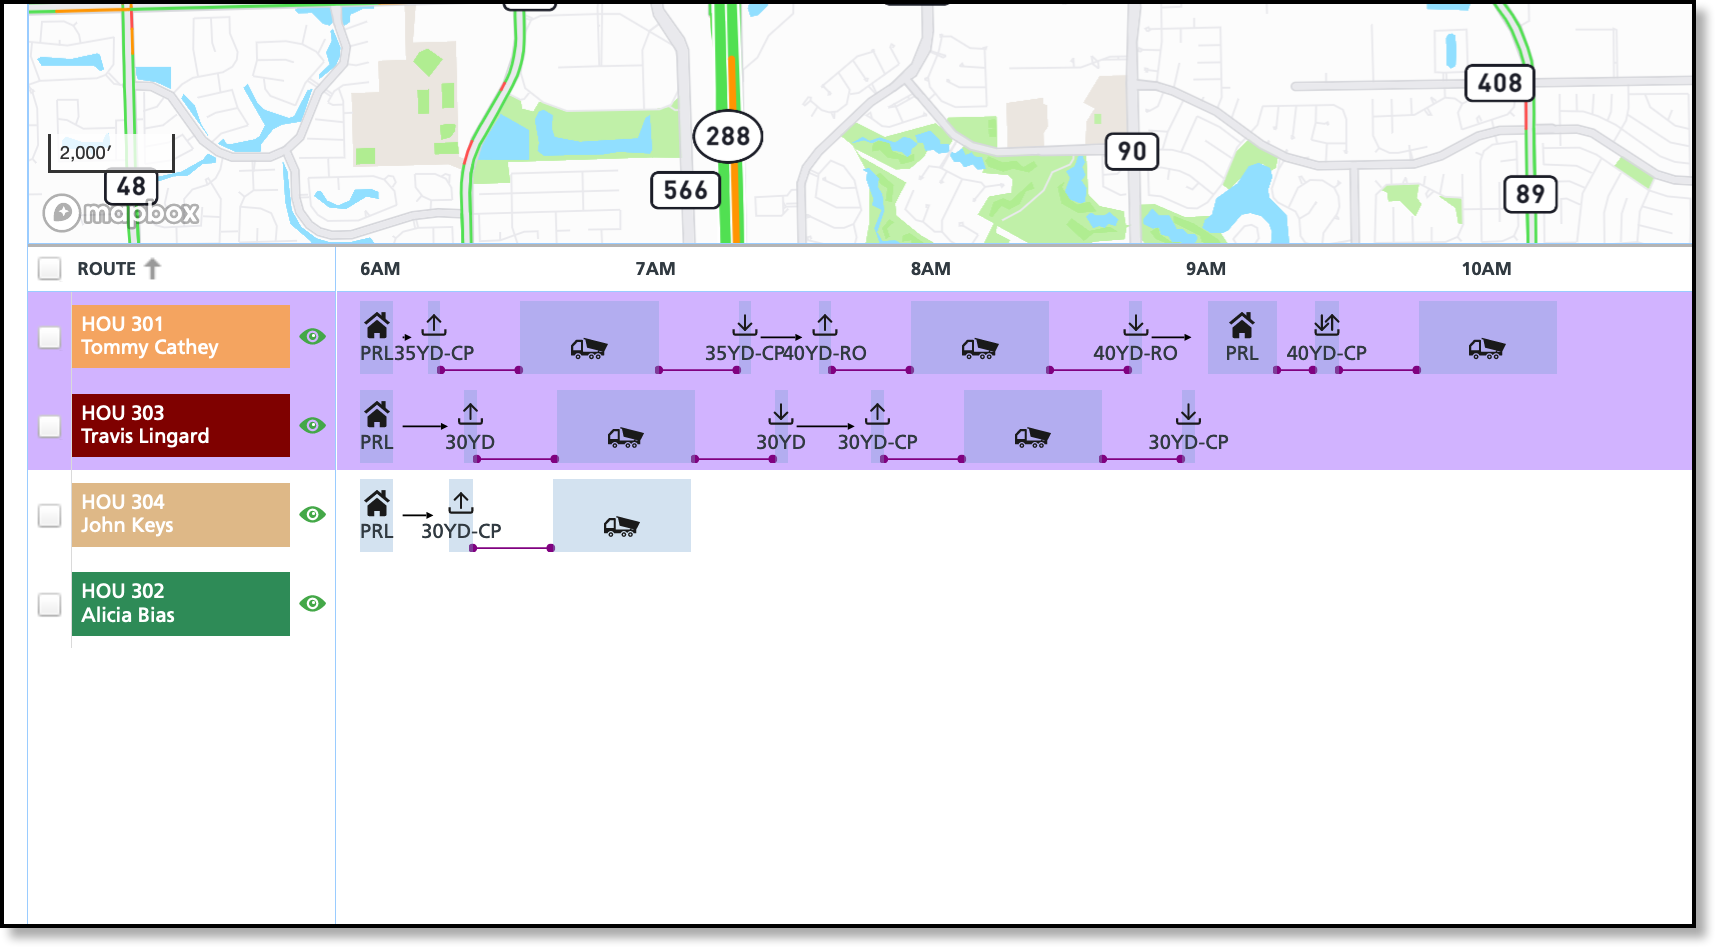
Rows highlighted in purple indicate a route optimization job is complete.
